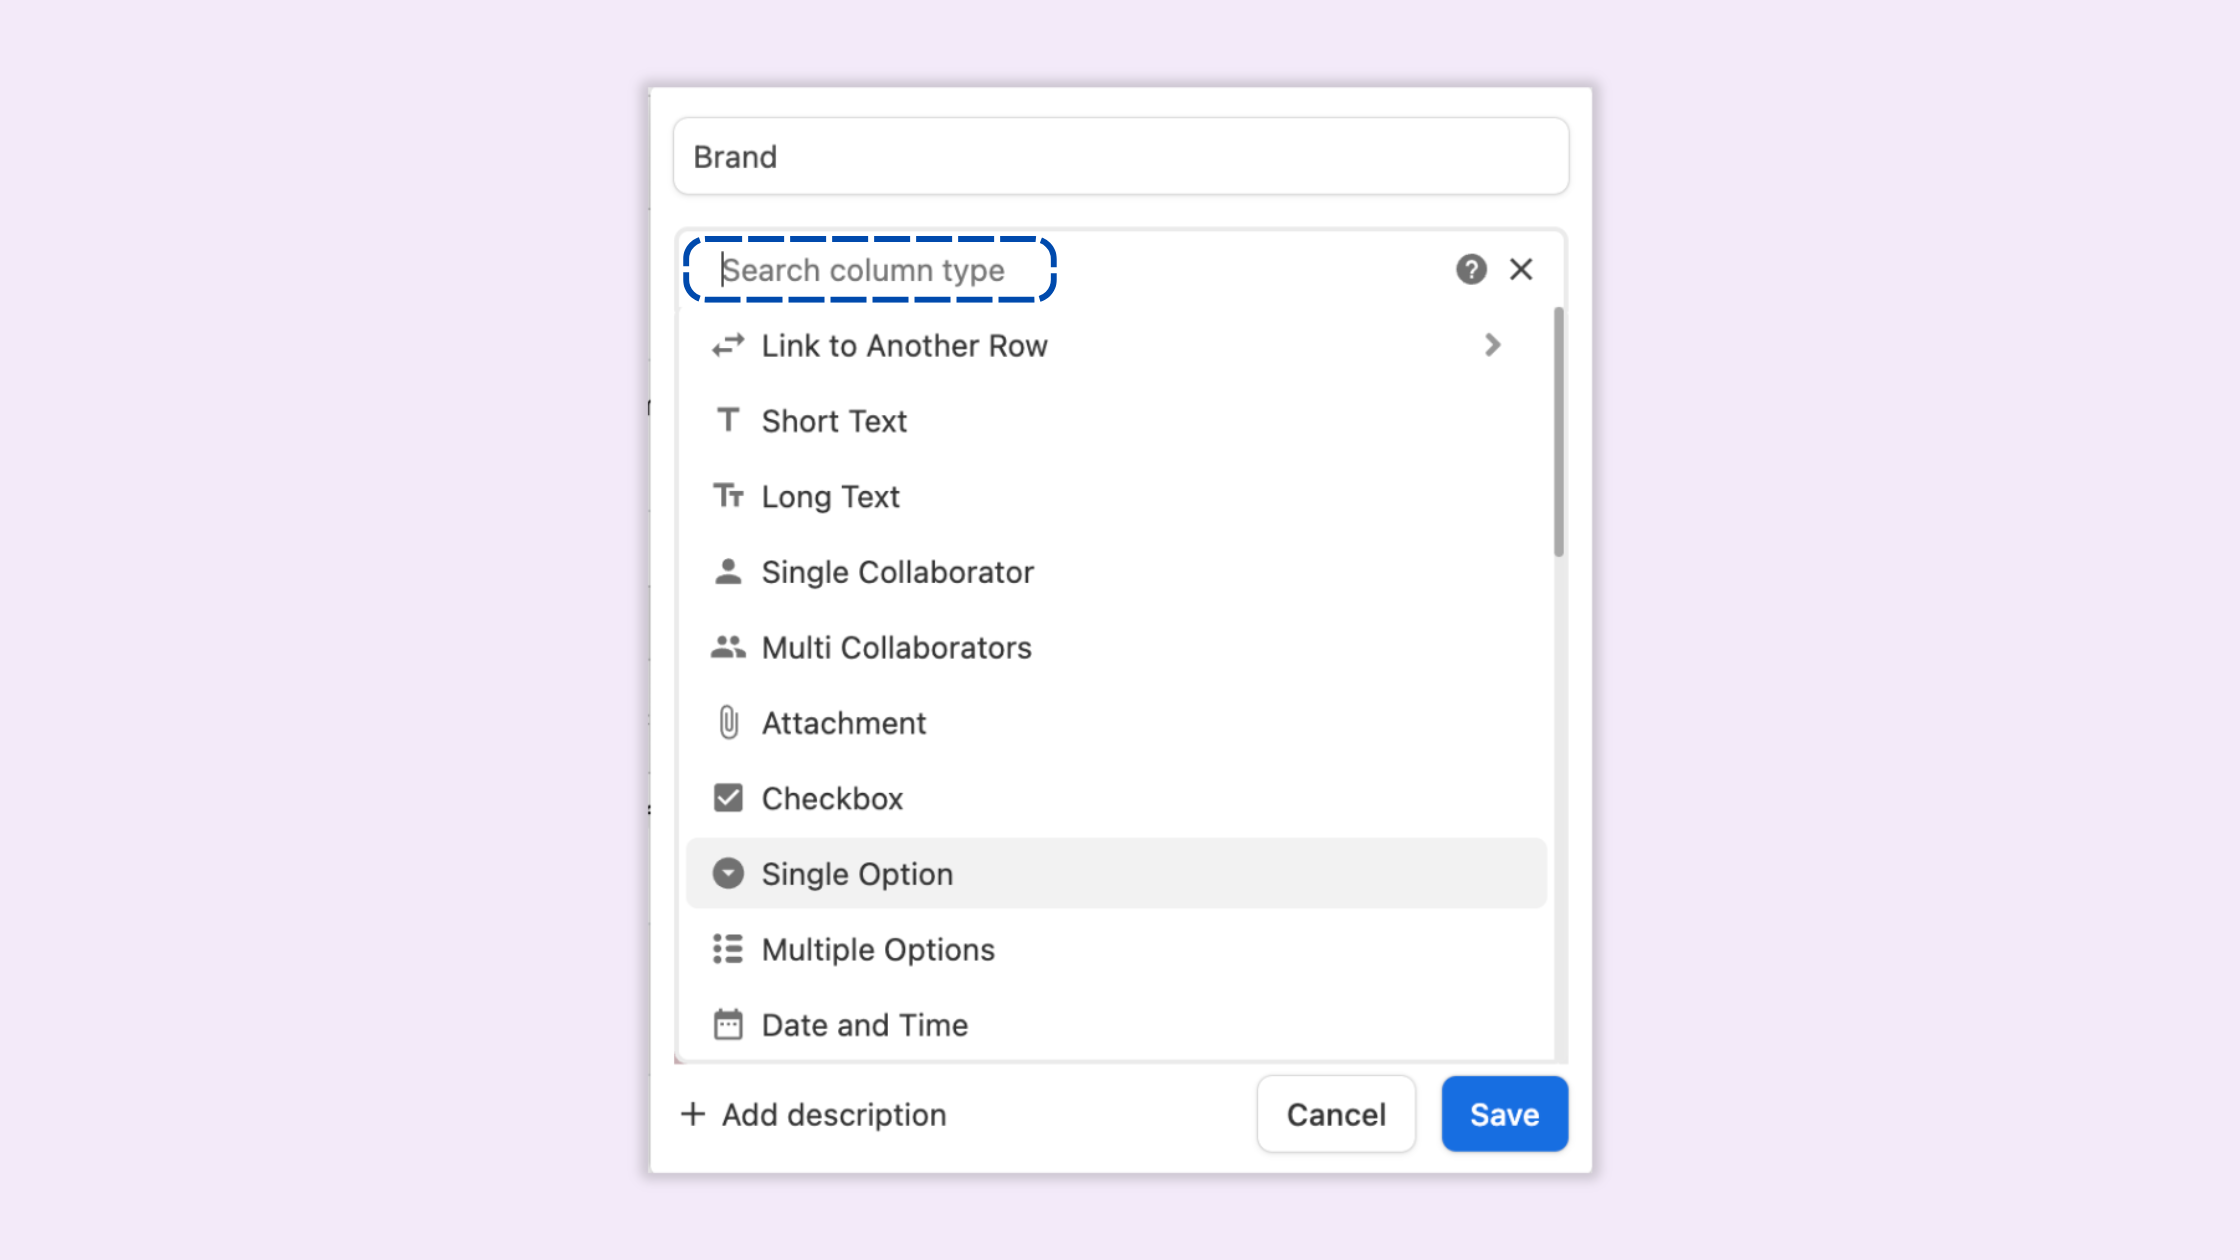
You can choose a new type of column by double clicking the column name - this will open a column configuration panel and you can search the column type of your liking.
You can also right click on the column name to open up the column menu and selecting 'Change column property' in the dropdown.
Also when you create a new column, you will be prompted to choose and change the column property.

Column properties define your tables in Stackby. It helps you customize how your data will be visualized and validated in specific columns. In Stackby, it symbolizes different attributes of your primary object. It can help your columns just take the data it is configured to take (Text, Phone Number, Email, Dropdown, Files, etc.) and visualize your information the way you want.
For example,
If you want to express column property to date, rather than typing the date in the column, select Date/Time column type to choose from a date picker and format exactly how you want it to look (2/12/2019 or Feb 12, 2019)
Or if you want to choose from a pre-defined options in a list, you can select from Single Select or Multiple Select column type, to choose from pre-defined options that will display as a dropdown in your specific column.
Watch the overview of all rich column types in Stackby:
Short Text & Long Text: Choose from Short description text or long text paragraphs
Number based: Choose from Decimal type, Currency (USD, Euro, INR) and Percentage (%), along with their precisions.
Date & Date + Time: Choose either date alone or along with time.
Checkbox: Represented as checked or unchecked box
Single Select/Multiple Select: Pre-defined list of options to choose from.
Collaborators/Multiple Collaborators: Add your team member(s) to a particular column and choose to reference or notify them.
Attachments: Add files (Images, PDF etc.) on particular columns.
Phone Number, Email, URL: Validated field types that will only take from the chosen - Phone number, Email or URL link.
Inbuilt (Created Time & Last Updated Time): When was the row created or last updated.
Ratings: Add ratings to your columns.
Duration: Add time duration to your cells (hours, minutes, seconds) - Coming soon.
Created By, Updated By: Find out who created and last updated the rows.
Progress Bar: Add a progress bar based on the checklists on your rows
Time: Add time values to your cells.
Deadline: Add a reminder to your row directly from your column (Coming soon).
Formulas: Compute your text, number based or date/time column types with numerical and logical operators and functions. There are also advanced formulas that you can create and use.
Auto-number: Auto-increment counter for new row
Link to another table: Interlink rows from tables to create one-to-one, one to many, many to many relationships.
Lookup: Lookup any column data from linked rows + conditional lookup.
Lookup Count: Count of linked rows in a particular link column type + conditional count
Aggregation: Summarize the linked rows with SUM, Average, MIN, MAX and more + conditional aggregation.
API: Connect to a third party service to pull information (YouTube, MailChimp, Hunter.io) or use services (Google NL, Google Translate)
Button: Configure a button to send messages via Twilio (or WhatsApp)
Barcode: Scan any QR or Barcode, and bring the IDs in the table directly (need a mobile app to use it).
Checklist: Now add checklists directly on your records, assign them to anyone and add a due-date.
Signature: Users to digitally add signatures within Stackby, eliminating the need for external tools.
1. How do I set default value for a column?
If you know that you want to see the same starting data when you add new row, you can choose and add default value for different column types such as Text, Number based, Date/Time and Checkbox.
2. How can I add images/PDFs to a column?
You can add images and PDFs by choosing attachments column type and upload from your computer or connect to your Dropbox, Box, Google Drive, Facebook, Instagram accounts or even by pasting a web URL. All your images and PDFs will be rendered in the table, that you can eventually view and download inside Stackby.
3. How can I link two tables?
You can create two-way relationships between tables, by choosing a 'Link' column type in any table and choose from any other tables. Once you've created the link with a table, the rows from the linked table opens in a model and you can choose any of them to link and it creates a thumbnail of linked row in the cell.