

In this article you will learn,
Grid View
This is where you can structure your data and do all the work that you have been typically doing on spreadsheets. Grid views are all-around useful and are particularly helpful when you're trying to add new information to a table.
Grid view is the default type of view in Stackby.
Note: Each table needs to have at least one grid view.
You can refer to the Grid view in detail.
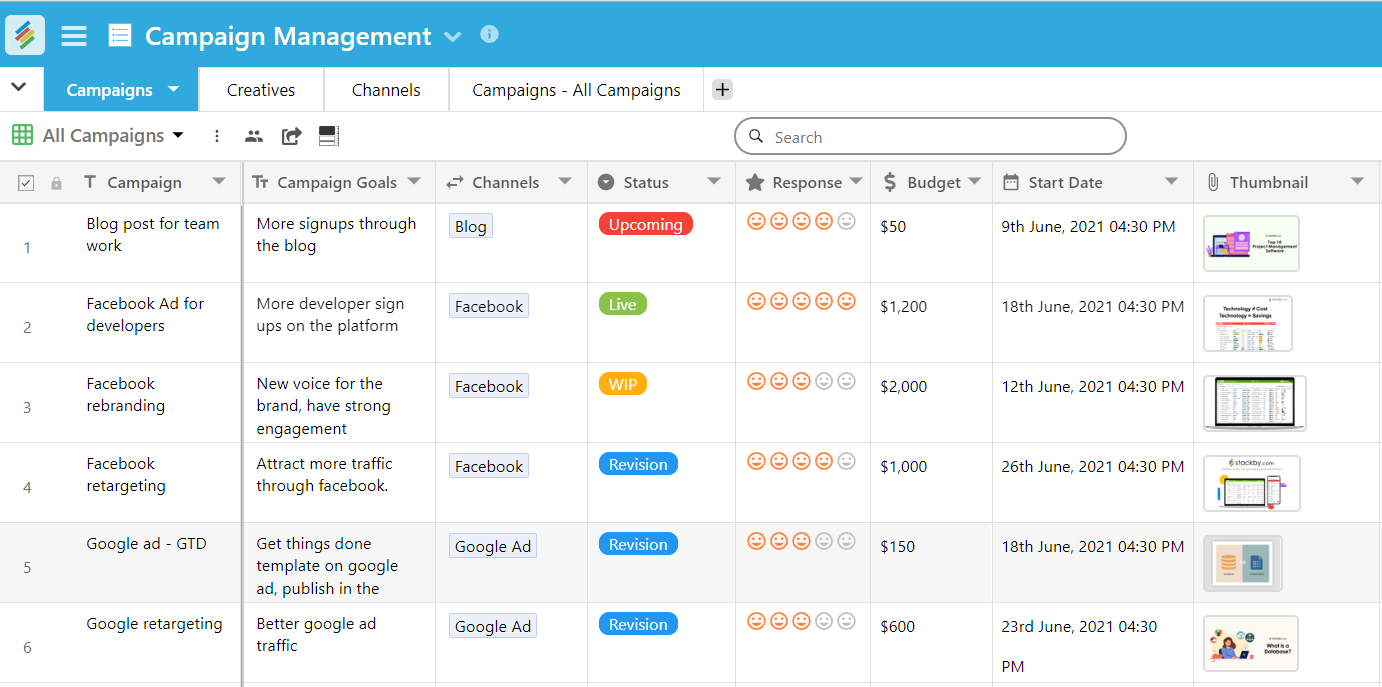
For the new Grid, you can use the toolbar to Hide, Filter and Sort your data to personalize the view as per your requirement. You can also change the Row Height to customize it for your data to fit in. Once your data is formatted as per your requirement, you can start working on this new grid.
Freezing a column means locking it to keep it visible while the user scrolls through the Stack. This is specifically helpful if a column is required to be seen at all times. When viewing a grid view, you can freeze - or lock - a column to always keep it in view when you're scrolling through a table horizontally.
The summary bar displays a summary of your table content.
Different column types will have different summarization functions available:
For Number based column type:
Sum
Min
Max
For Date and Time column type:
Earliest date
Latest Date
Kanban View
Kanban boards visually depict work in various stages of a process and use cards to represent work items and columns to represent each stage of the process.
Kanban's view on Stackby works exactly in the same way, leading the way with clarity when it comes to process and their progress.
Click on the drop-down menu arrow beside the Grid Button Click on the add View + icon. Select and click on Kanban Layout to create a new Kanban View.
A pop-up will ask you to select the grouping field and also let you know what groups you can select. Select the data and you can view your data in Kanban.
You can drag and drop both cards and panels on your data's Kanban View. If you realize that the panels are not in order you wish, just drag and drop the panel to the right place.
To make it easy for you to view just relevant cards, we have facilitated Hiding and Collapsing of panels.
You can add a new row directly on your Kanban View. At the top right of your panel, you will find the "+" button in the ellipses menu. Click to add.
Just below the Add Record, you will find the Delete Panel button. To delete a panel, just go to that panel and select the Delete Panel button.
You can add a new category in your Kanban View. Scroll from Left to Right and you will see a tab that says "Add a New Category." Click and add a new one and add records as needed.
Calendar View
When you are working on a deadline, it makes it worthwhile to have everything chalked out on a Calendar. Stackby's Calendar view lets you do just that and more.
To add calendar view: Click on the drop-down menu arrow beside the Grid Button Click on the add View + icon. Select Calendar from the list and a pop-up will ask you select the appropriate single date column and you can view your data as a Calendar.
Form View
Forms are the most important elements in our workflow. It helps us collect information, get responses, do surveys and much more. Regardless of the role -- Product Manager, Customer Support, UX Researcher, Creative Director or a Deal-Flow Analyst --, forms make everyone's life easier.
Click on the drop-down menu arrow beside the Grid Button. Click on the + Add View button, select and click on Form Layout to create a new Form Layout.
The cover image on forms is Stackby Power Ups Feature. In this, you can easily add images to your form.
You can customize which columns appear on your form and the order in which they appear. To remove a column from the form, just drag and drop it onto the left side of the form, to reorder a column, click on it and then drag it using the drag handle that appears.
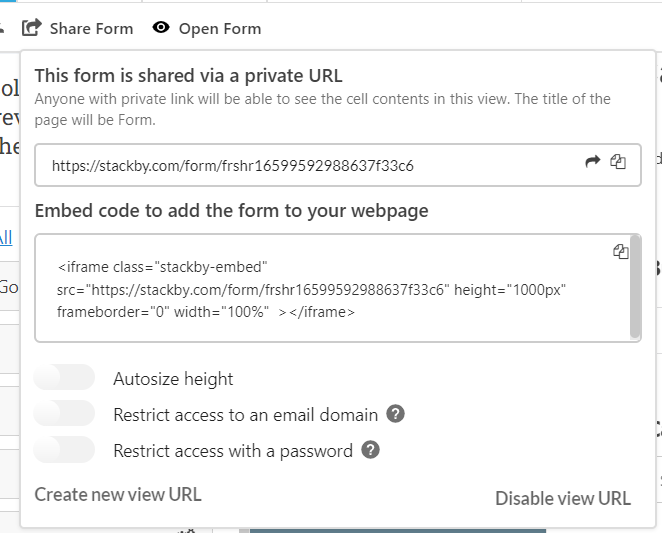
Once you're done customizing your form, you can click on the Share form button to get the link to the form that you can share with other people.
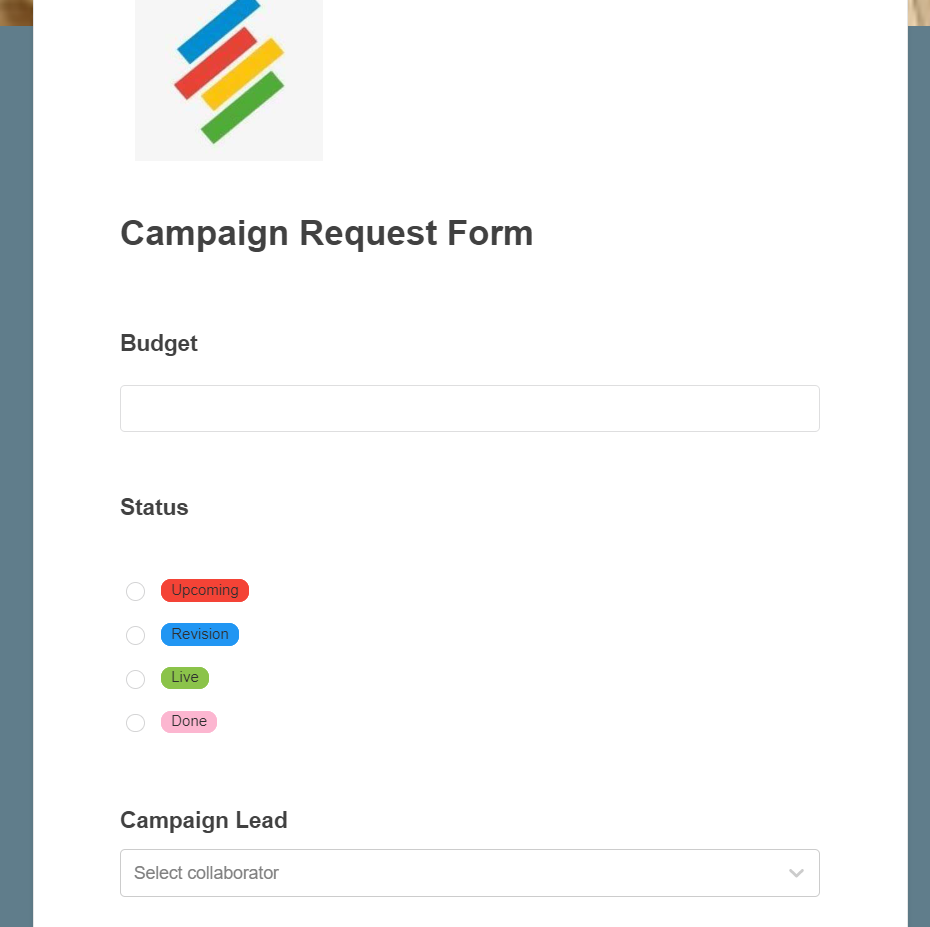
Check out how your form would look to your target audience by clicking on the Preview button at the top toolbar.
Gallery View
You can create your gallery Layout by just adding a gallery view in your stack. For creating a gallery view attachment column is not necessary.
Click on the drop-down menu arrow beside the Grid Button. Click on the + Add View button, select and click on Gallery Layout to create a new Gallery View.
As soon as you add a gallery view, you can see only the first 3 columns. After that you can customize which column you want to show in your gallery view.
You can customize your gallery view in the way you want. From customized card settings you can add an attachment column to the top cover image column.
Updatable Form
Not only can you create custom forms from anyone or embed it on your website or blog but also create updatable forms for your team to bring new responses or update existing records
Click on the drop-down menu arrow beside the Grid Button. Click on the + Add View button, select and click on “Update Form” View.
You get an extra sidebar view in this form, which shows all the records you have in that table.
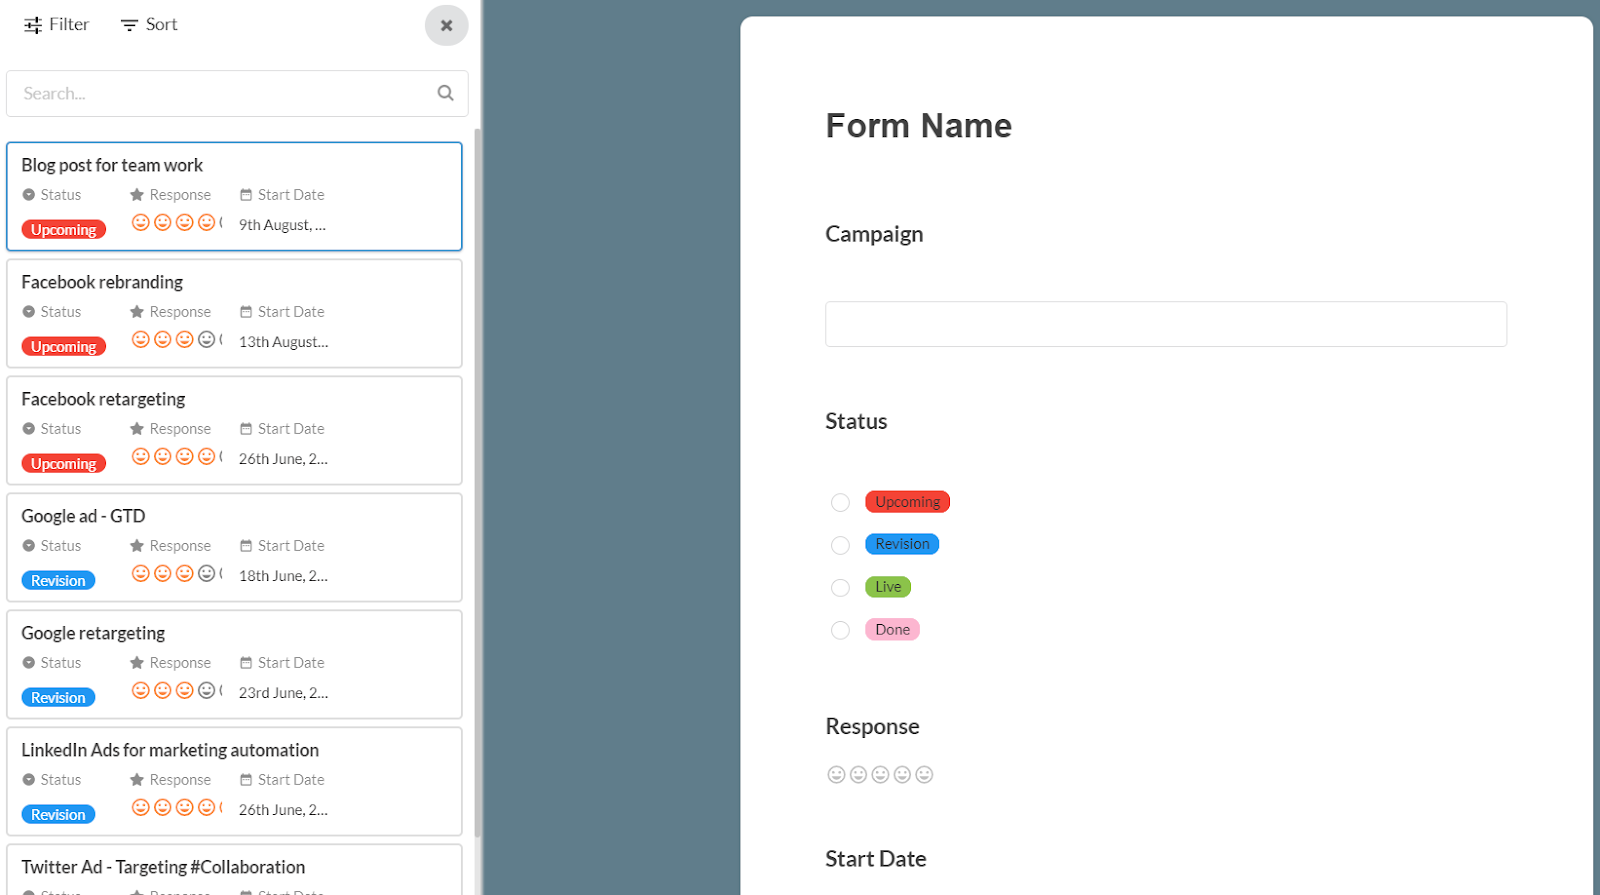
You can add filters, sort as well. You can search for any record you want.
Sharing view URLs to others
Embedding a particular view to a website or a blog
Adding editors to a view (Stackby Powerup)
Personal Views (Stackby Powerup)
Locked Views (Stackby Powerup)