

We, at Stackby, recently introduced Forms to our Layouts (other layouts include Grid, Kanban and Calendar). We believe forms are the most important elements in our workflow. It helps us collect information, get responses, do surveys and much more. Regardless of the role -- Product Manager, Customer Support, UX Researcher, Creative Director or a Deal-Flow Analyst --, forms make everyone's life easier.
You have been asking us for Forms for some time now. We heard that and now, you can customize your own forms, the way you want on Stackby.
With the Forms Layout, Stackby has taken another important step towards making Stackby the easiest work management platform for you.
Inside this Article
Configuring Forms from Your Table
Sharing Your Forms with Your Target Audience
Configuring Forms from Your Table
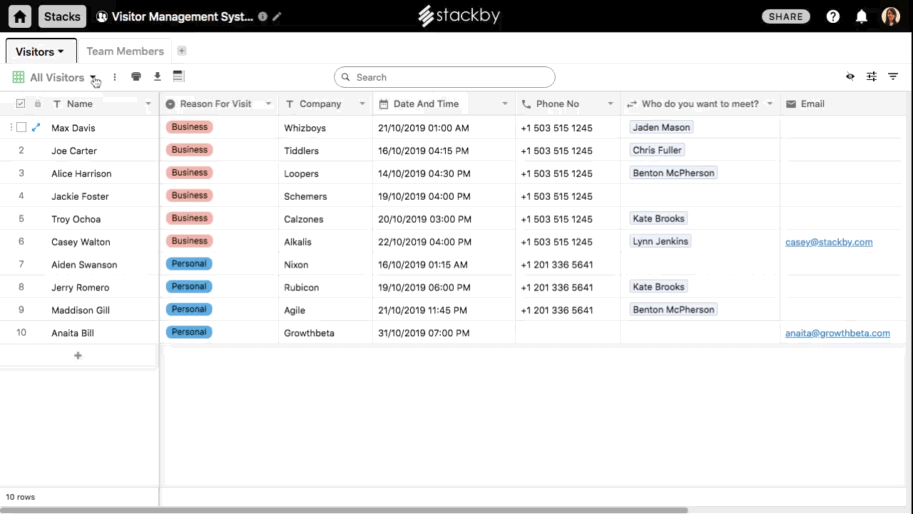
Everything on Stackby starts with the table and creating your form is no different.
One of the benefits of creating forms on Stackby is that it links to the table. Simply create it at the table level and convert to a form layout.
Each column headline is equal to one question on your form. Here is how to create questions for your form, once you have renamed your table -
- Start adding in your questions as column name -- one question per column. Your column name (question) shouldn't exceed more than 425 characters.
- Select the appropriate property for the column. If the answer is in numbers (such as age), then make sure you choose #Number Based as the property or choose Checkbox Property with Yes or No as options.
Please delete any column description by right-clicking and selecting the Edit/Delete Column Description (the first 4 columns have it by default) so that it doesn't clash with your questions.
Now that you have created columns with questions as the headline, here is how to convert your table to a form:
- Go to the Layout Change button just above the first column of your table, click on the + button, select and click on Form Layout to create a new Form Layout.
1. Add a logo (Optional)
Personalizing your form with your company logo is optional, but it would be good if you opt for it. To add your logo, click on the + sign and add your logo image from your system folder and you are done.
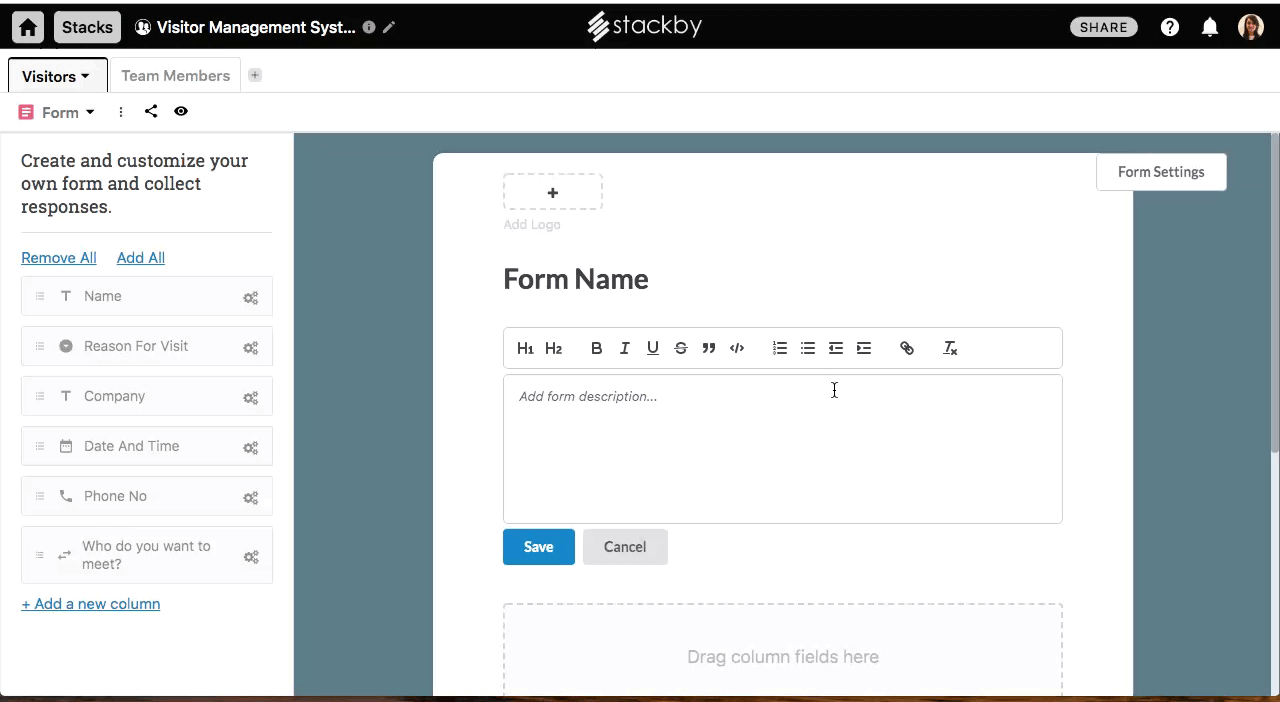
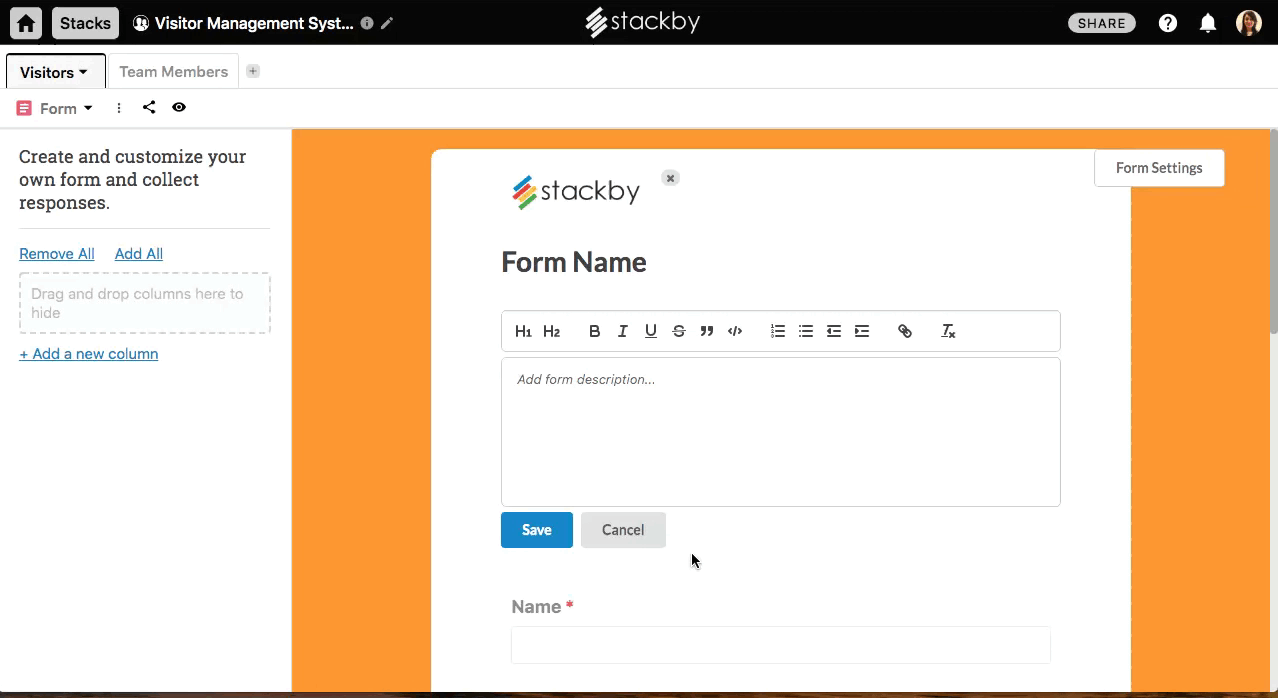
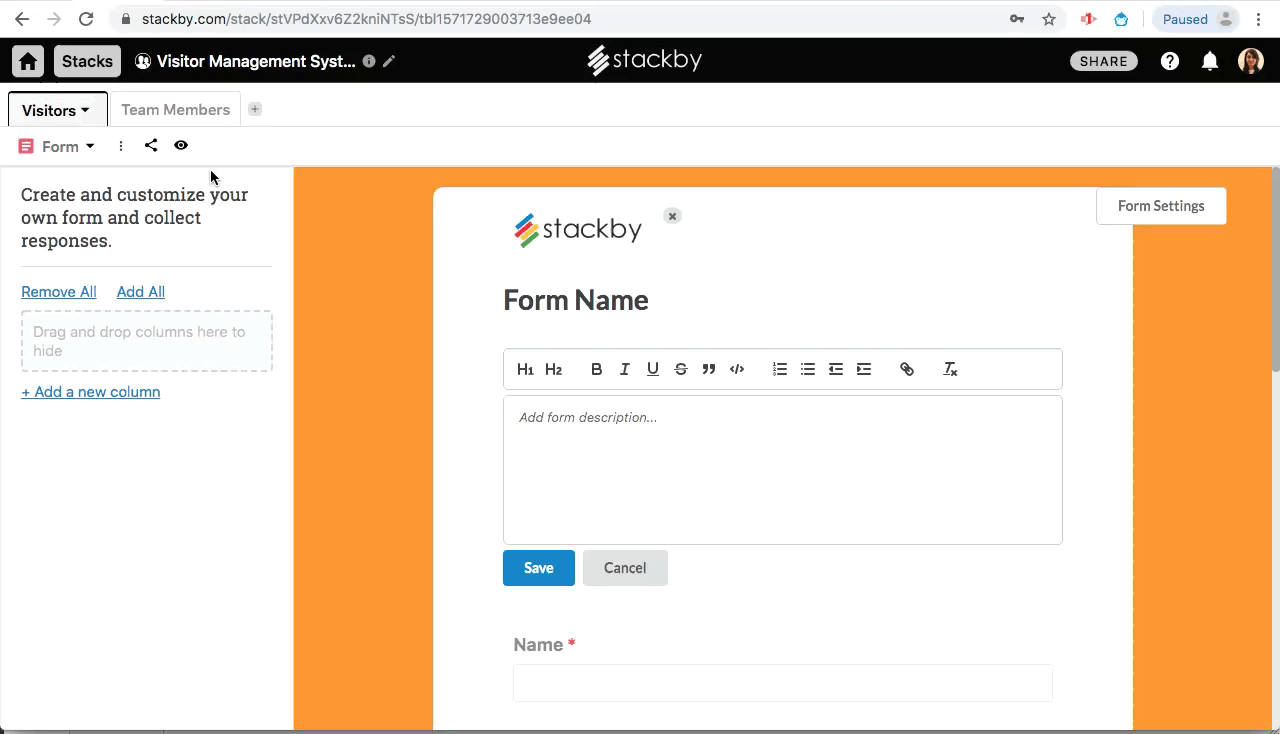
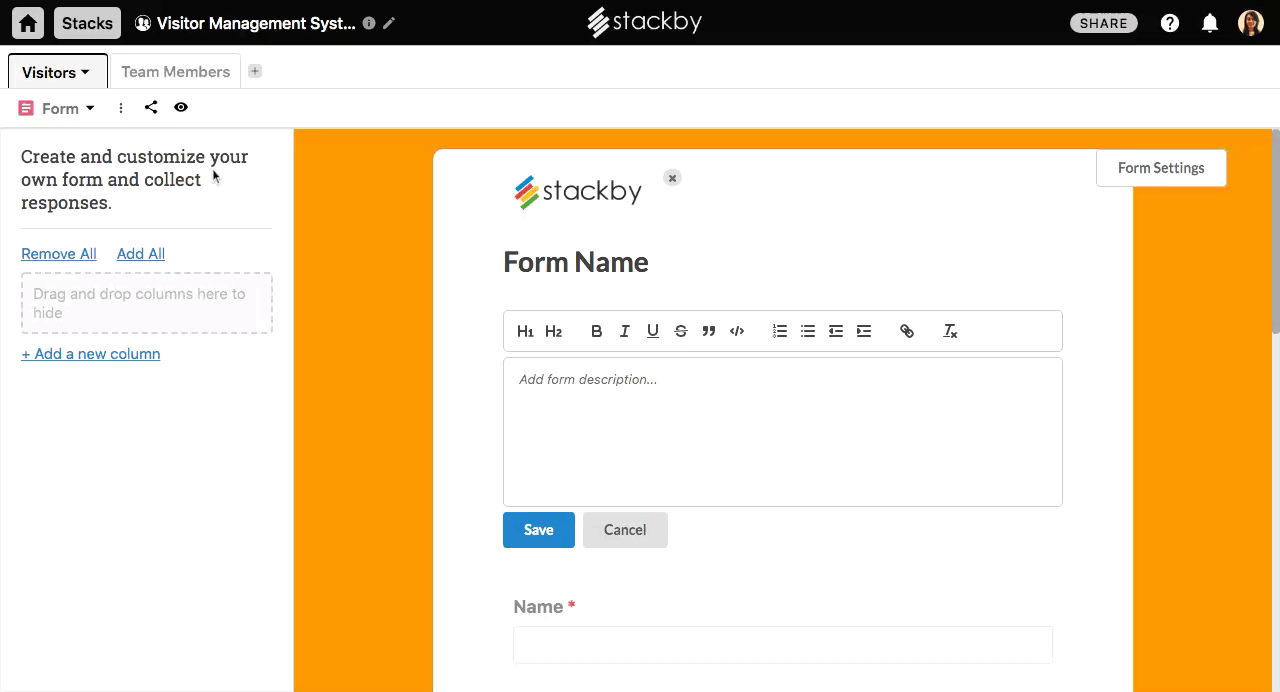
2. Adding a Form Description (Optional)
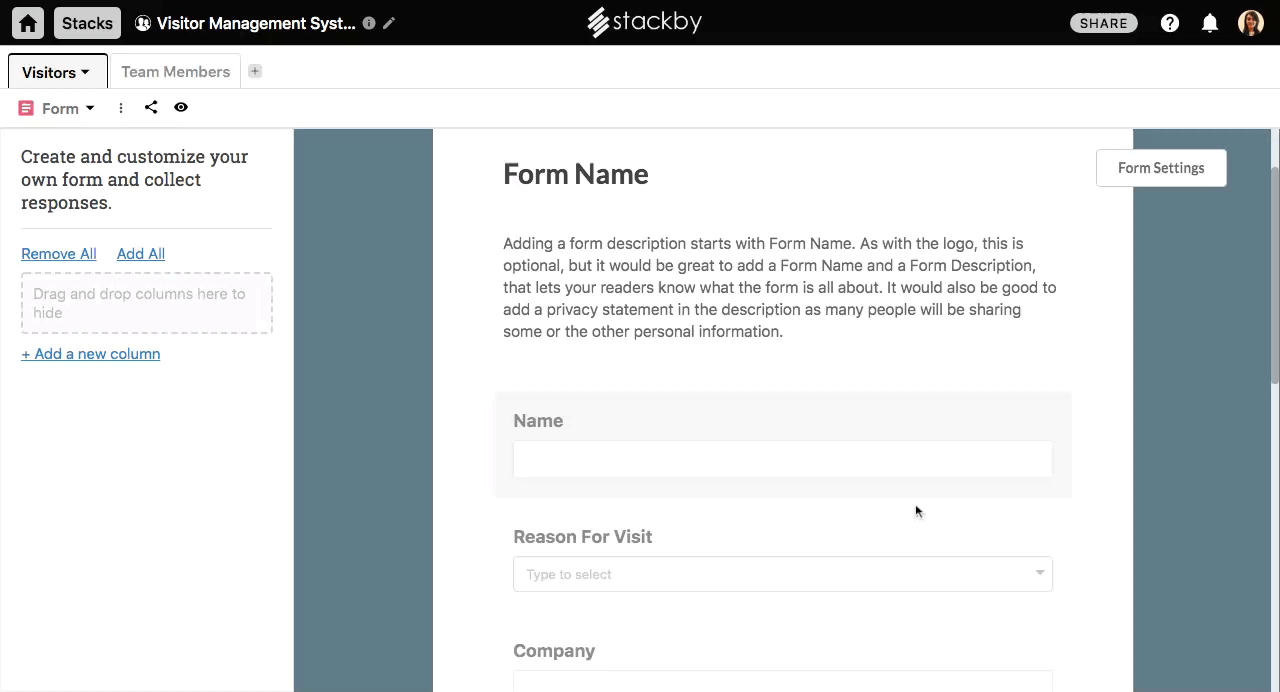
Adding a form description starts with Form Name. As with the logo, this is optional, but it would be great to add a Form Name and a Form Description, that lets your readers know what the form is all about. It would also be good to add a privacy statement in the description as many people will be sharing some of the other personal information.
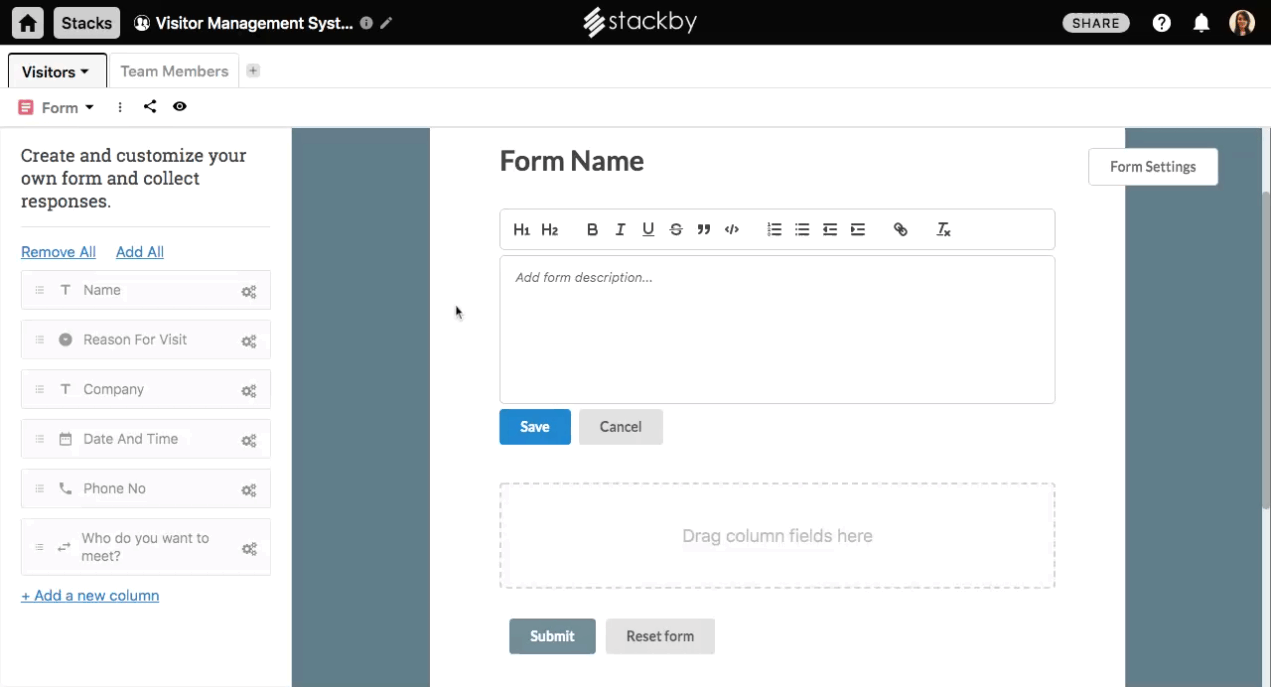
3. Dragging and Dropping Columns from the Table (Required)
Now, it is time to prepare your questionnaire on the form. On the left-hand side of the form, you can see the columns that you have configured on the table. Drag and drop the columns one by one to link to the respective form fields.
You can also click on the "Add All" Buttons. Click on "Add All" and all the questions in the table will be visible as a form questionnaire. Similarly, use the "Remove All" button to remove all questions.

If at all you want to add in more questions in the form, you can do that on the Form Layout (vs. going back to your table) by clicking on the "Add a new Column" button.
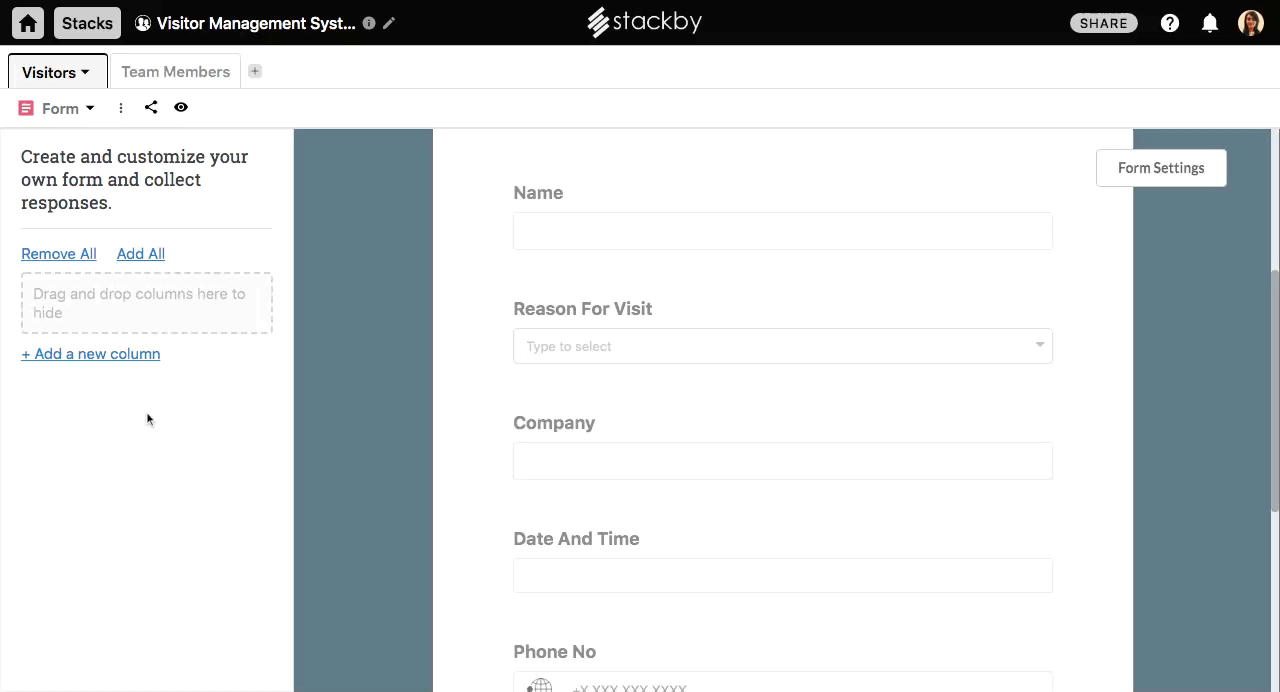
Editing the questions can be done by clicking on the respective question and making the changes. You can also make a question mandatory to answer by selecting the "Required" toggle button.
Changing Your Form Settings
Feel like changing the background colour or changing the message your target audience gets to see when they submit the form. Click on the Form Settings on the right-hand side of the Form -
You can make the following changes once you do that:
1. Form Types
- Create Rows - Submit response only once (e.g. Sharing this form externally)
- Create and Update Rows - Not only submit but also update a response. (e.g. Sharing this form internally)
2. Select Background Color
18 colors that you can select as a background color for your form. Click to select.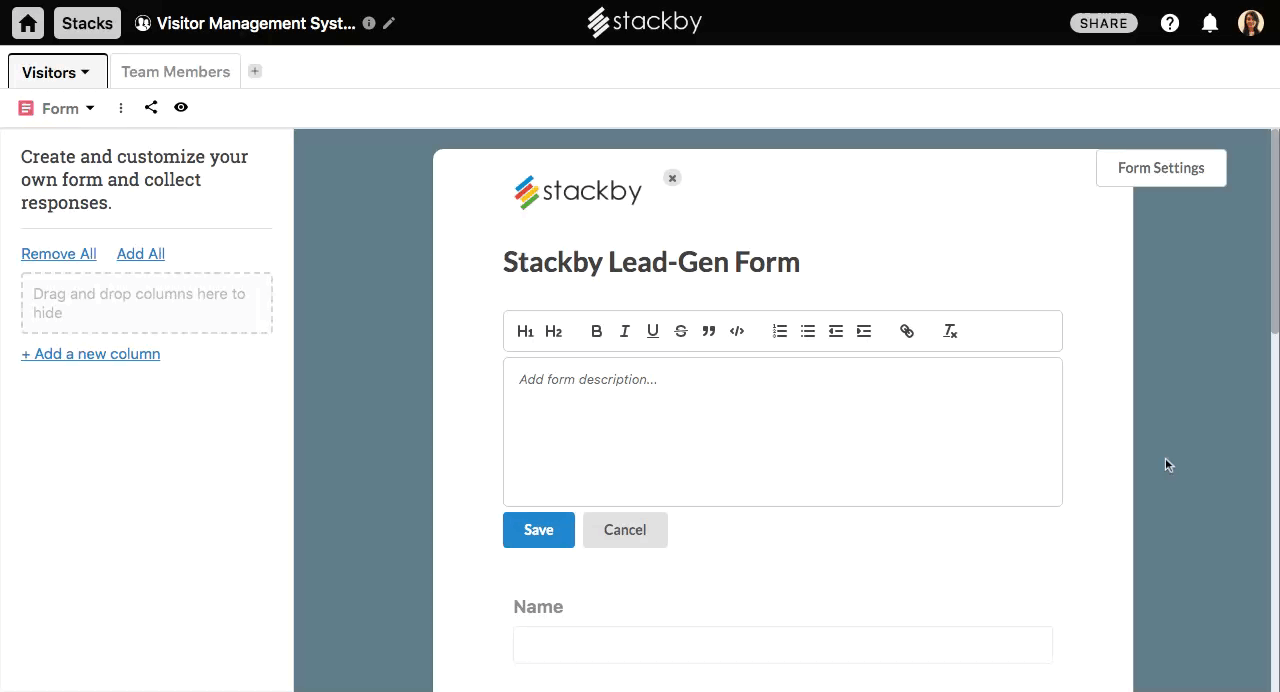
3. Edit Submit Message
It already has a 'Form submitted successfully' message by default, but you can edit it add one of your own.4. Redirect to a URL After Form Submission
Add in a landing page or another Form URL that you want your target audience to go to once they fill and submit the form response.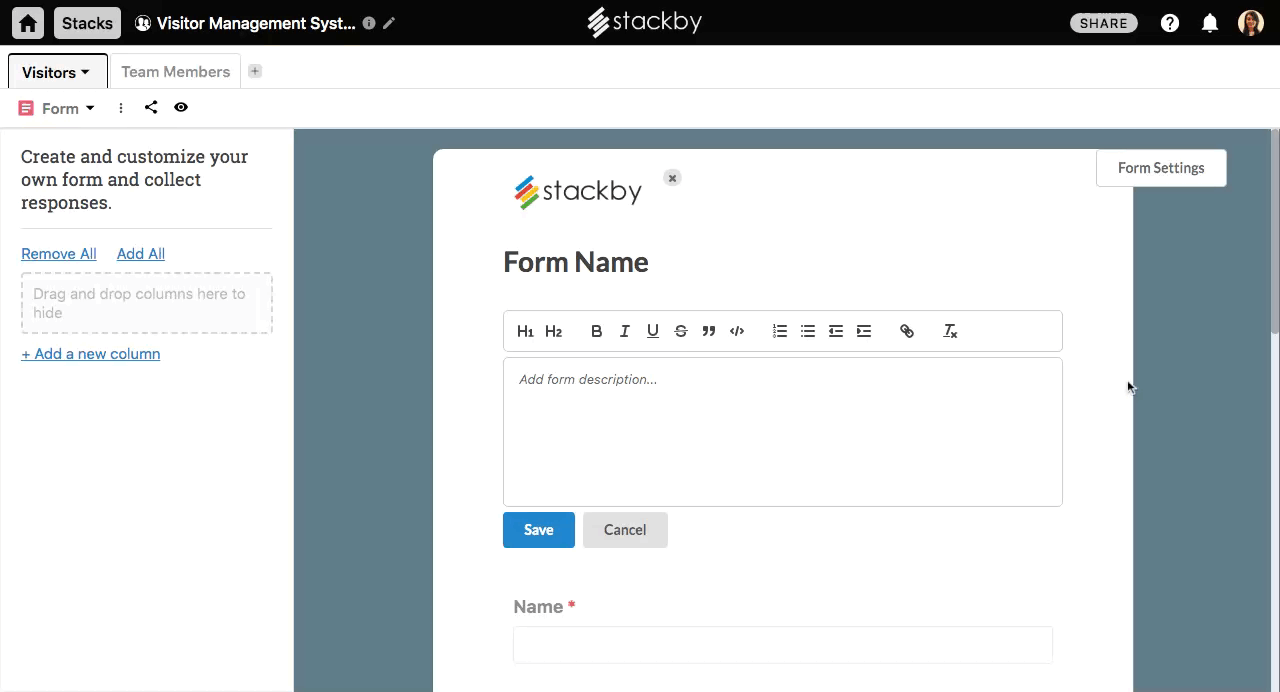
Preview Form
Check out how your form would look to your target audience by clicking on the Preview button at the top toolbar.
Sharing Your Forms with Your Target Audience
There are two ways to share your forms with your target audience. You can either:
1. Share a Unique Form URL
Go to the Share button on the top left side, and click on it. You will get a link that you can share on an email or chat. Note: You can also get the link from the preview page.
2. Embedding a Form on Your Website or a Blog
Or you might want to embed the link on your website or your blog or some other landing page.
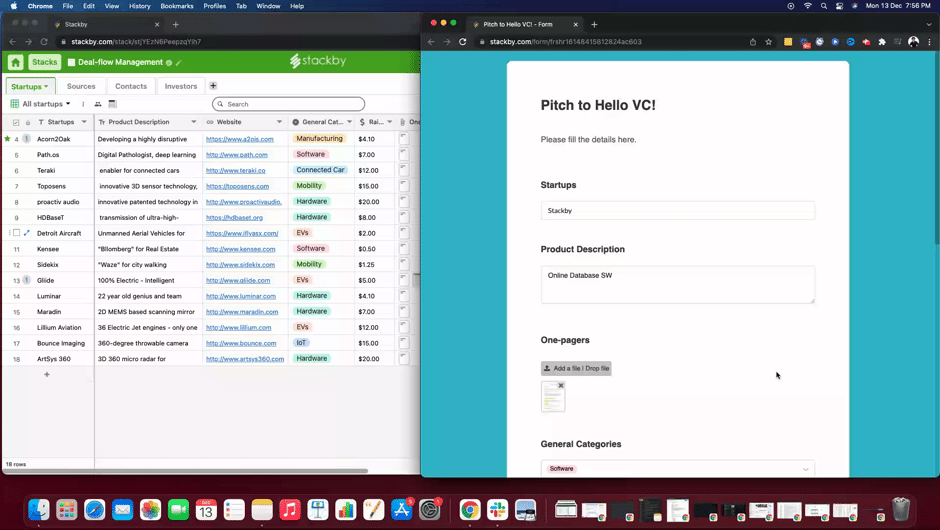
3. Getting Responses from Form submissions
That is very easy -- once your target audience starts submitting answers on your form, the responses will be saved in the Table that you used to create the questions under each respective column. You can do a test survey by submitting a response to check if this is working (it would be ideal to test it once before sending it out or embedding it).
Use-Cases
Wondering what all types of forms can you create on Stackby? We have some templates for you get started in a couple of clicks -
- User Feedback Tracker
- Visitor Management System
- Marketing Campaign Tracker
- Applicant Tracker
- Facilities Planning
- Pitch submissions
...and 100s more you can imagine.
Limits
You can add 100 columns (questions) on a single form/table if you have a free plan and 500 columns (questions) on a single form/table if you are on a paid plan.
Another important thing to keep in mind is that the validity of any forms you embed depends on the validity of your subscription. The form will be accessible in a read-only version once your Stackby subscription ends (submitted data wouldn't be saved). This can be solved by renewing your subscription.
Happy Creating Forms!