

Collaboration is an essential aspect of any successful team project, and Stackby provides a powerful platform for managing data and workflows collaboratively. Whether you're working on a small project with a few team members or a complex project involving multiple departments, Stackby makes it easy to collaborate effectively.
In this article we will learn,
Workspace collaboration
Workspace collaboration
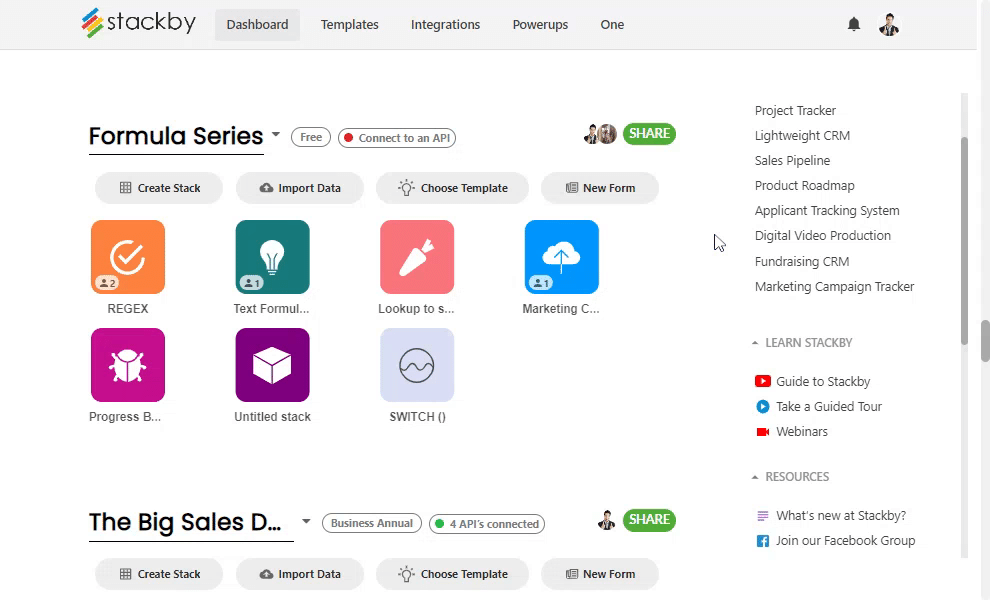
Workspaces are collections of stacks that are organized around a specific project or department. They allow you to collaborate with team members across multiple stacks and workflows.
Steps:
Invite team members to your workspace: To collaborate with team members on a workspace, you'll need to invite them to join. You can do this by clicking on the "Share" button on the top of the workspace. This will allow you to add team members to your workspace and assign permissions as needed.
Understand the different permission levels: Stackby allows you to assign different permission levels to team members within a workspace. These include owner, Creator, editor, commentor and readonly. It's important to understand the different permission levels and their respective capabilities before assigning them to team members.
If you add someone as a workspace collaborator at a certain permission level, that permission level applies to them for all stacks in the entire workspace.
Assign workspace permissions carefully: When assigning permissions, make sure you only grant the access that team members need to perform their tasks.
Note: Each workspace is required to have at least one owner. An owner has all the usual powers that a creator does, but they also have the ability to control the billing settings for the workspace. By default, the person who originally created the workspace is the owner.
Also note that if you add someone as a workspace collaborator, you cannot give them different permission levels for different stacks in the workspace, nor can you keep them from seeing certain stacks in the workspace. If you just want to add collaborators to particular stacks or views, don’t add them as a workspace collaborator.
Workspaces and billing: Something very important to note is that the workspace is the primary billing unit for all Stackby plans.
Stack collaboration
Stacks are databases in Stackby that allow you to organize related data and workflows. However, it's important to manage stack permissions effectively to ensure that team members have the access they need without compromising data security or integrity.
Steps:
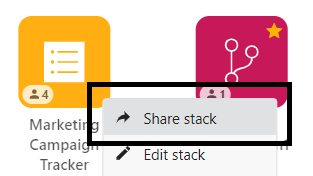
To invite someone as a stack collaborator, go into the stack to which you'd like to invite someone, and click the share button to open the Stack share dialog.
From the stack share dialog, you can also see everyone who has access to the stack, including both stack collaborators and workspace collaborators.
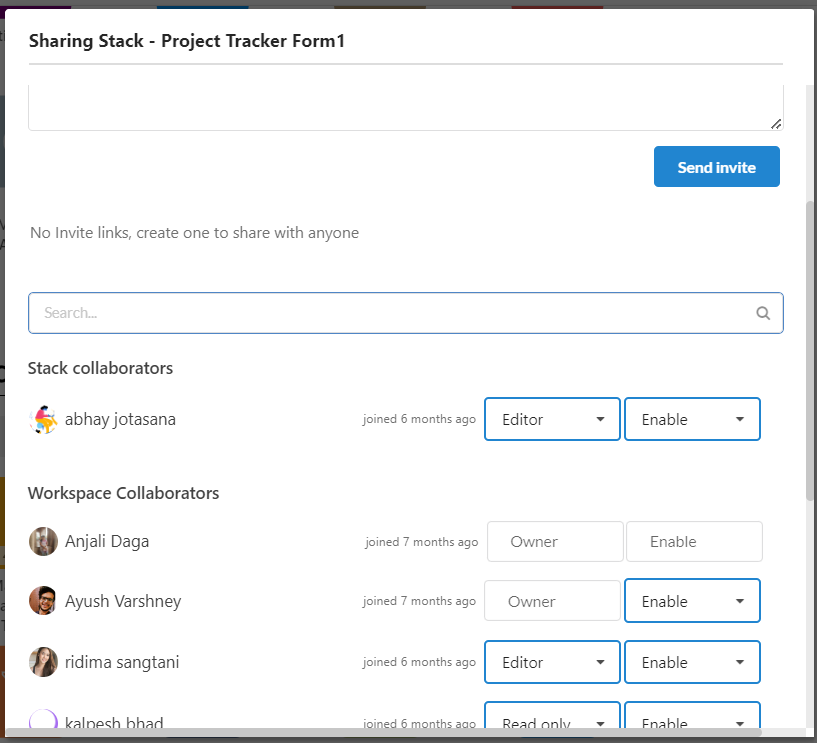
To remove a stack collaborator, open the same stack share settings model. Then hover your cursor to whom you want to remove and then click the "X" next to collaborator name.

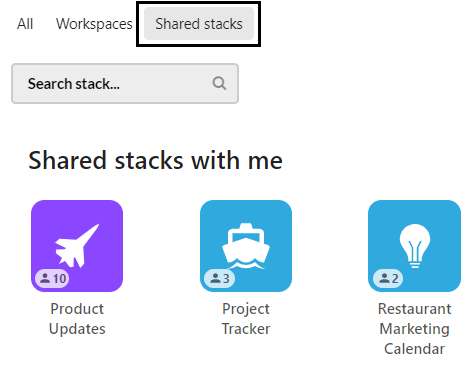
Stacks shared with me:
If you have been invited as a Stack collaborator to at least one stack, on your homepage, you will see all your shared stack under the Shared stacks button.
These are all of the shared stacks which are shared with me.
You can also refer Embedding a stack and sharing with stakeholders