

In this article, we will guide you on how to import data from Airtable to Stackby in a few easy steps.
Step 1: Export data from Airtable
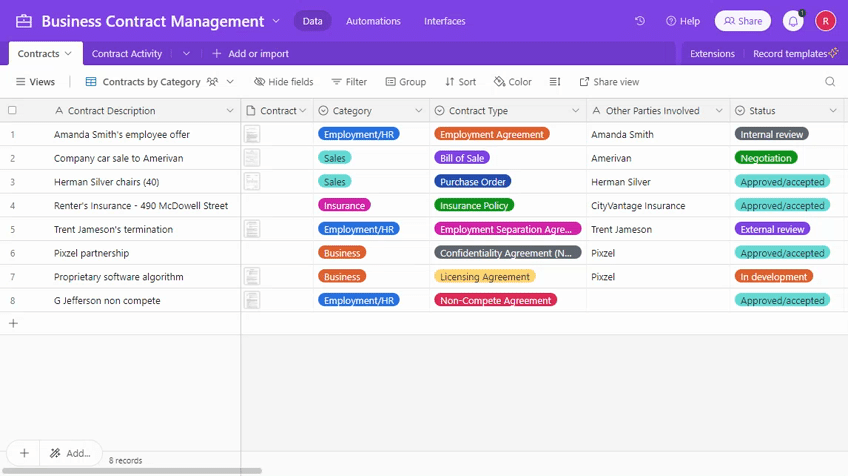
First, you need to export your data from Airtable. Airtable supports several export formats, including CSV, JSON, and Excel. Click on ‘Download CSV’ option from the view menu in Airtable.
Step 2: Import data into Stackby
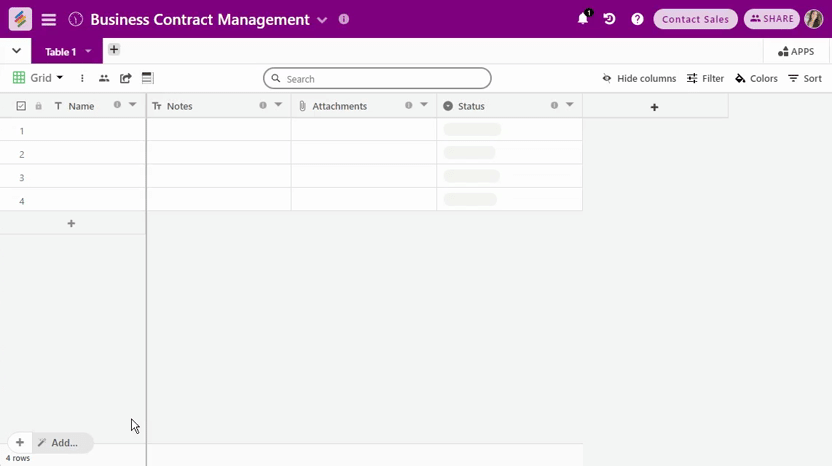
Now that you have your data exported from Airtable, you can import it into Stackby. Stackby offers a simple and intuitive interface for importing data from various sources, including CSV, Excel, and Google Sheets.
To import data into Stackby, follow these steps:
- Open the stack where you want to import the data.
- Click on the "Add more" button at the bottom of the grid.
- Select "Import" from the dropdown menu.
- Choose the import format that you prefer (CSV, Excel, or Google Sheets).
- Select the file that you exported from Airtable.
- Click "Upload" to complete the process.
Step 3: Customize your Stackby sheet
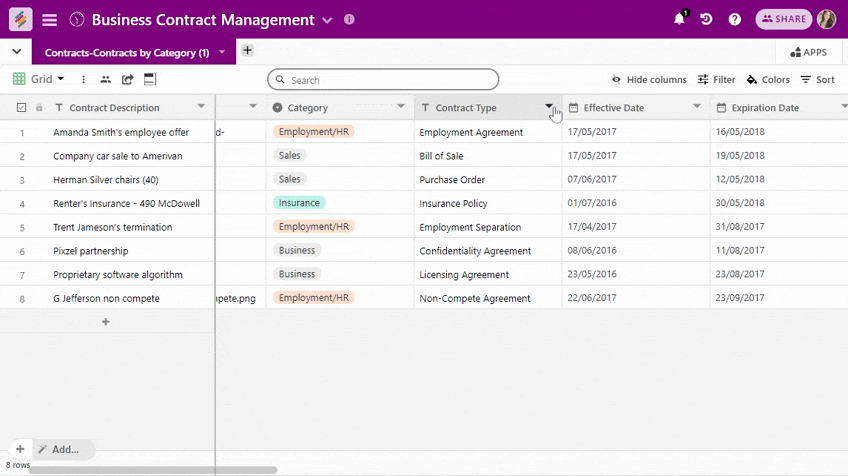
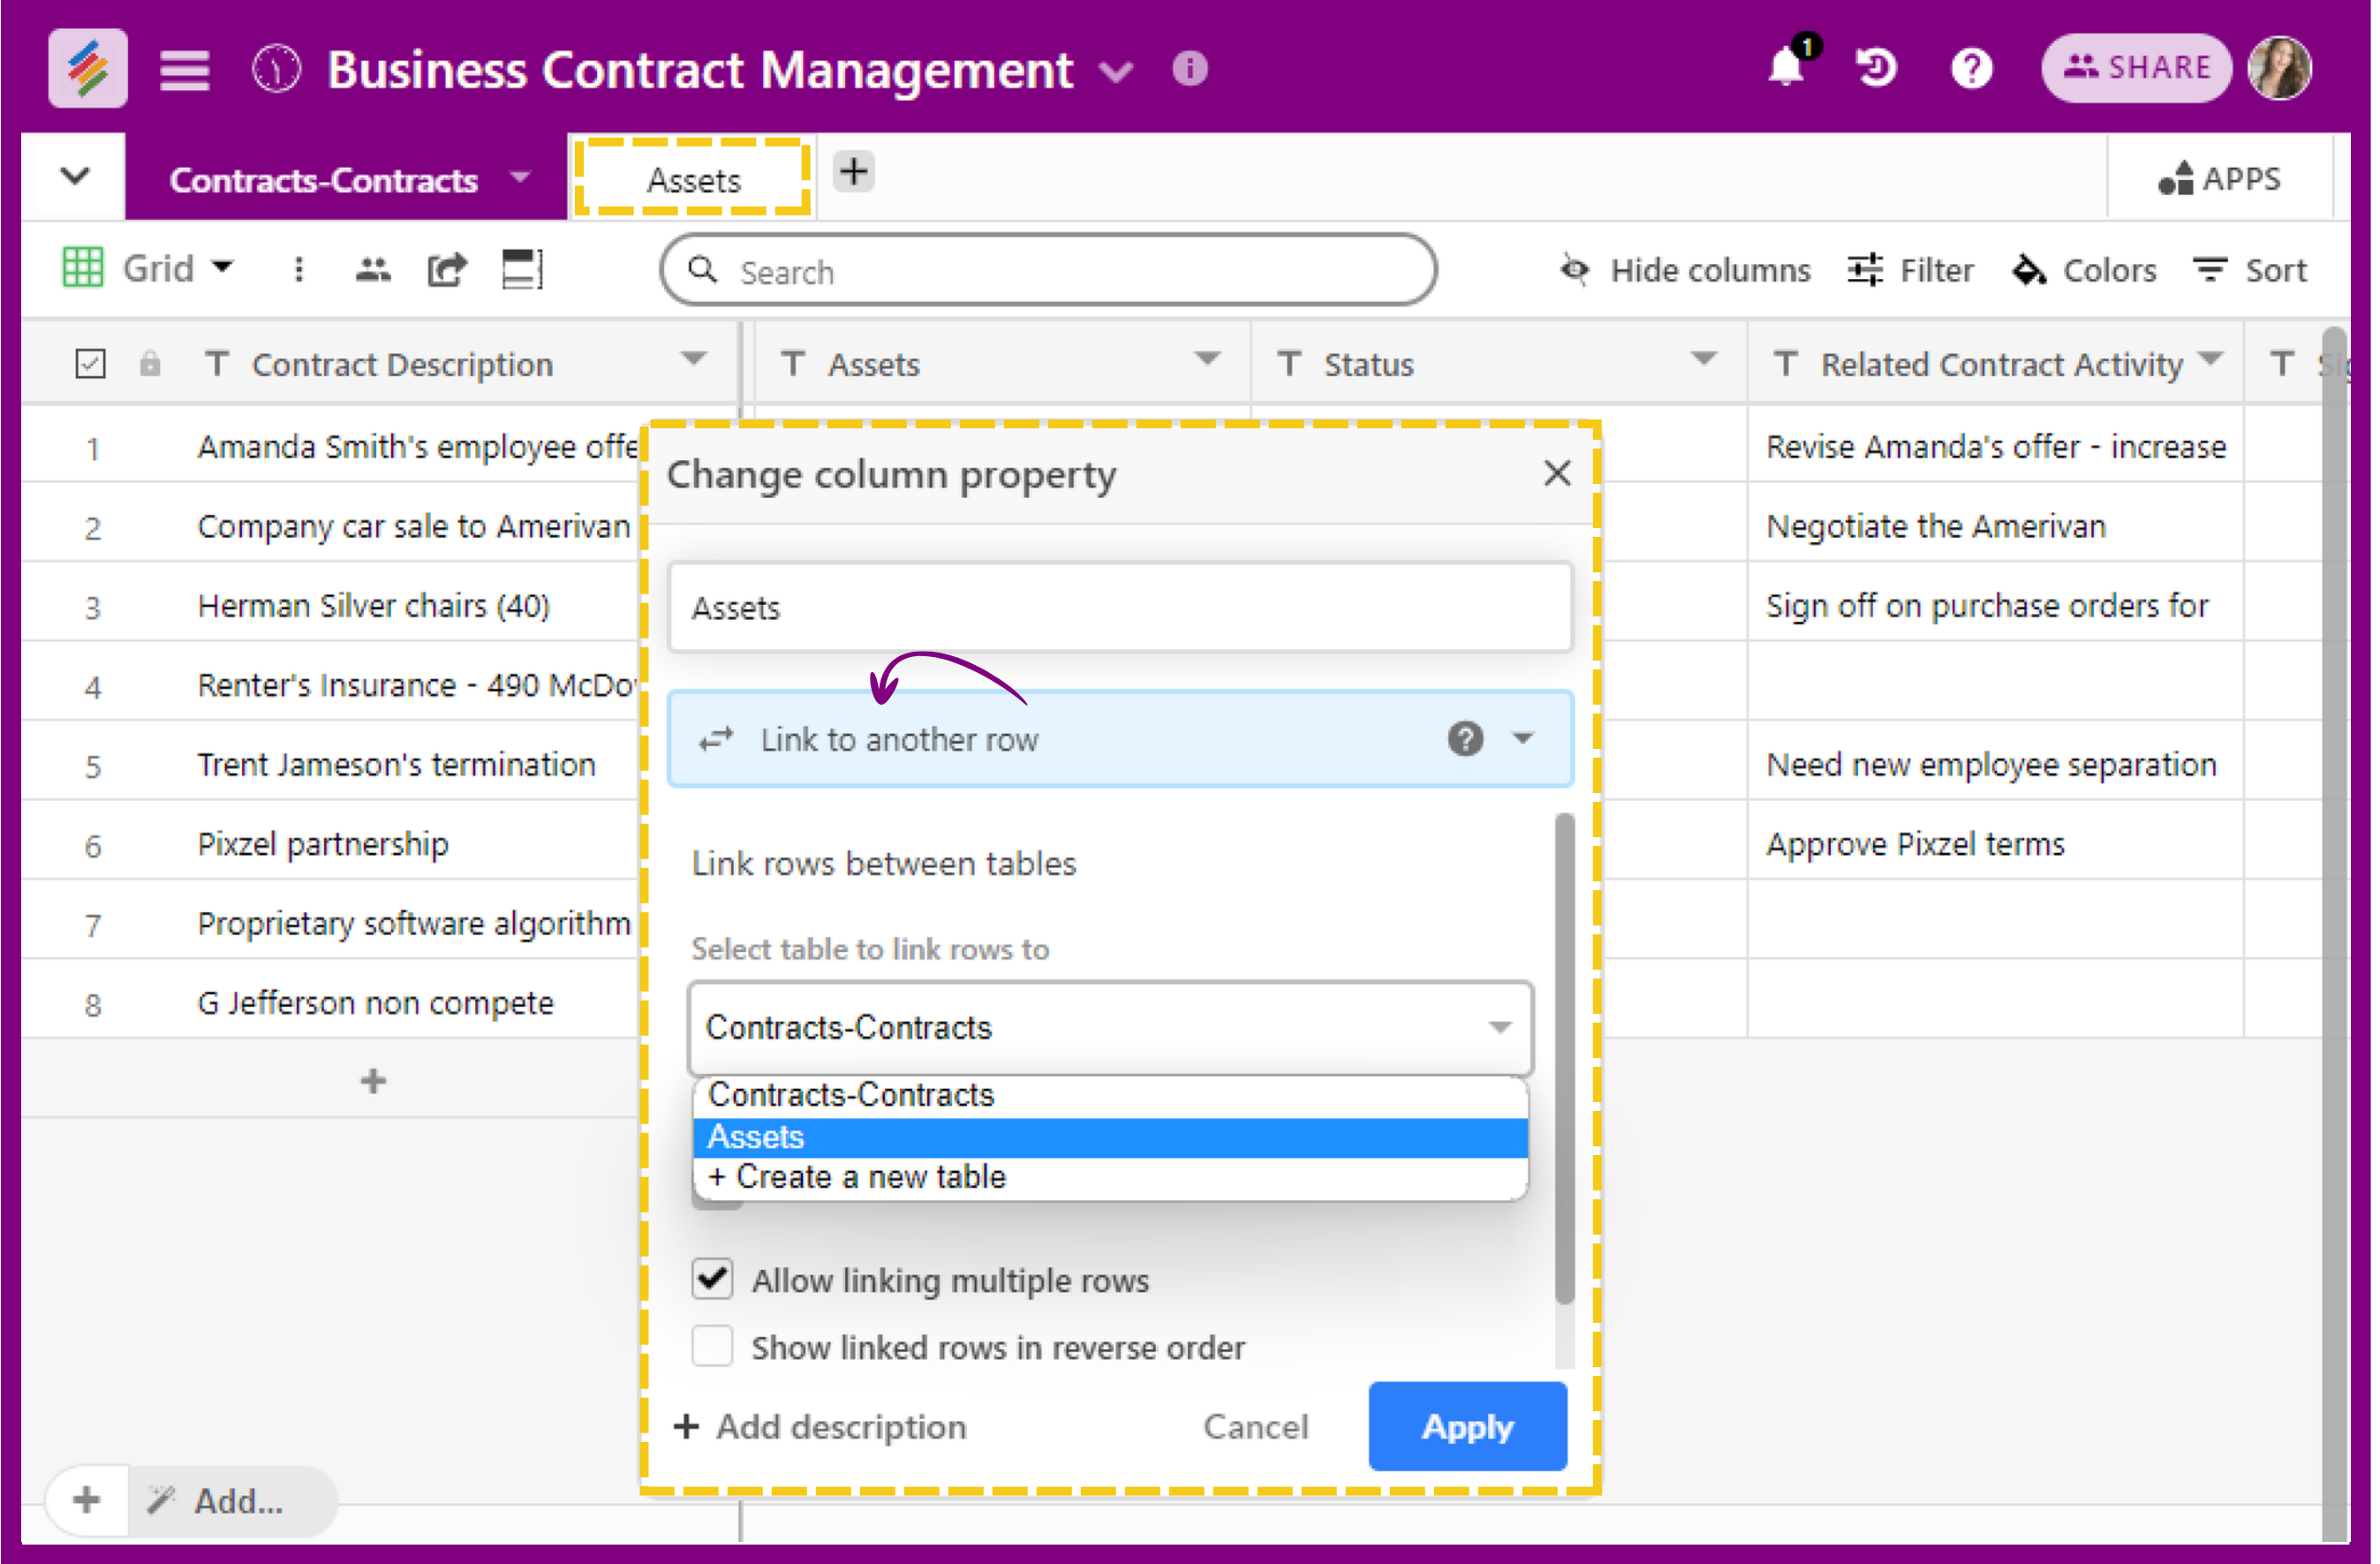
After importing the data from Airtable, you can customize your Stackby table by adding new columns, renaming existing ones, and applying formulas and filters.
You can also convert the imported text columns to different column types automatically - say Status or Category column to single option, date column to date/time column type or even link columns to automatically create a linked table. (Add column conversions article URL)
Stackby also allows you to collaborate with your team by sharing the stack or views, setting permissions, and leaving comments on specific rows.