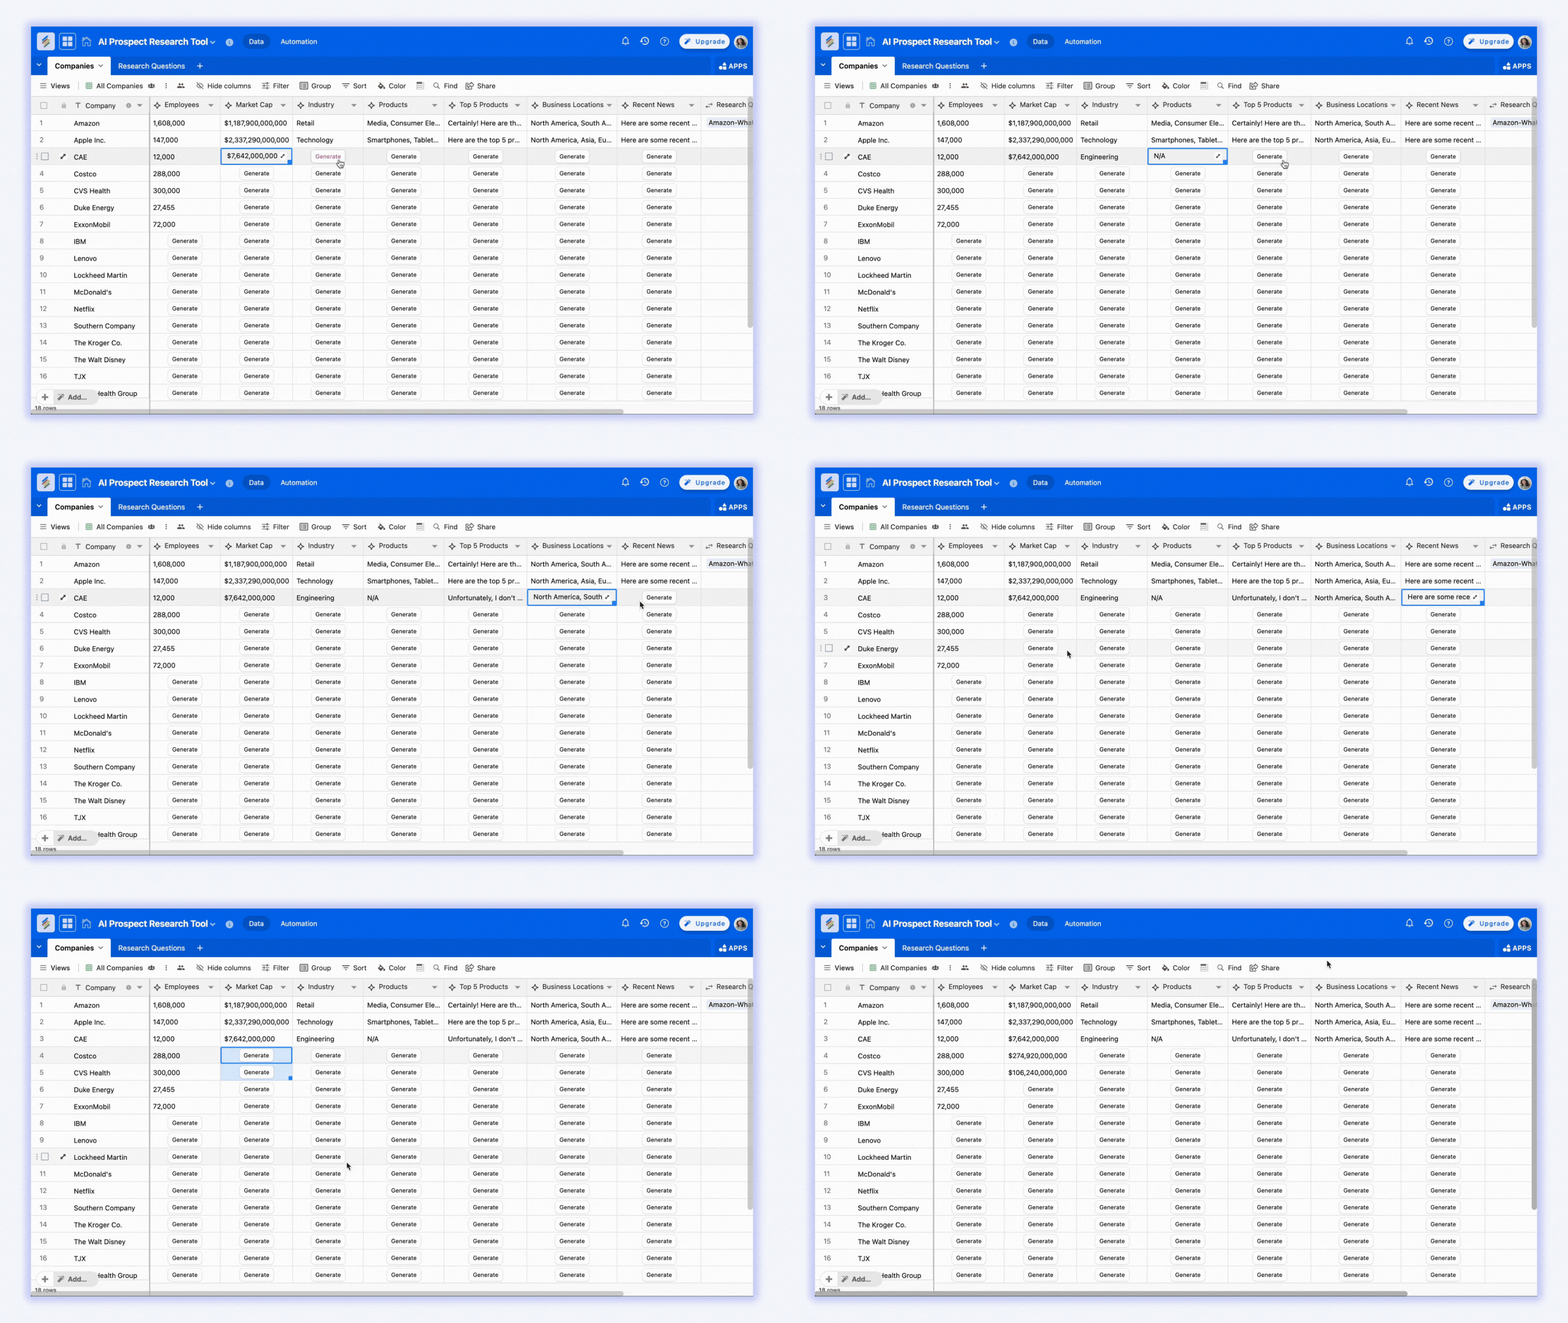
This is where Stackby AI shines, offering a seamless, no-code way to enrich your company and people data, transforming a basic contact list into a powerful, actionable database.
This article will walk you through the precise steps to add AI-powered data enrichment to your Stackby CRM.
Why Stackby’s Approach is Different
Most tools lock you into a single AI provider. Stackby gives you flexibility:
Bring your own key: Unlike traditional CRM tools that limit you to a single built-in AI engine, Stackby gives you flexibility and control. You can connect your own API key from
OpenAI
Google Gemini
Anthropic
Full control: Decide how the AI is used, what prompts it runs, and how data is enriched.
Transparent costs: Usage is billed directly to your AI provider, not Stackby.

How to Add AI for Data Enrichment in Your Stackby CRM
Stackby's approach is unique because it allows you to "bring your own AI." Instead of being locked into a single service, you can connect to top-tier AI models from providers like OpenAI, Google Gemini, or Anthropic using your personal API key from their portals. This gives you complete control over your data and costs.
Here is the step-by-step process to set up an AI-powered data enrichment workflow.
Step 1: Set Up Your CRM Database
First, you need a foundational database in Stackby to manage your contacts and companies.
Create a New Stack: From your Stackby dashboard, create a new "Stack" (which acts as a database).
Create Tables: Within this Stack, create two separate tables:
"Companies": This table will store information about the businesses you're targeting. Include columns for basic data like Company Name, Company Website, and Status.
"Contacts": This table will hold information about the people. Include columns like Full Name, Email, and a Link to Companies column to connect contacts to their respective businesses.
Step 2: Add AI-Powered Columns (AI Field Agents)
This is where you integrate intelligence. You will add special columns to both your Companies and Contacts tables that will be powered by AI.
Select Column Type: In your "Companies" table, click the + icon to add a new column.
Choose "AI" Field Agent: From the list of column types, select "AI". This is Stackby's AI Field Agent, which will perform the data enrichment.
Name Your Column: Give the column a clear name, such as "AI-Generated Company Insights," "Industry," or "Employee Count."
Repeat this process for your "Contacts" table, adding AI columns for fields like "Job Title," "LinkedIn Profile," or "Professional Summary."
Step 3: Connect Your AI Provider (Bring Your Own Key)
Stackby's AI feature is designed for user control. You need to connect your own API key from a supported AI service.
Find Your API Key: Log in to your preferred AI provider's account (e.g., OpenAI, Google Gemini, Anthropic) and navigate to their API key or developer settings. Copy your unique API key.
Paste Key into Stackby: When you configure your new AI column in Stackby, you will be prompted to paste your API key. This links your Stackby account to your AI provider, and all subsequent usage will be billed to your account with that provider, not to Stackby.
Done! Now Stackby connects directly to your chosen AI model provider.
Now you can choose your own models - GPT3.5, GPT4-o and others based on the AI model provider.
Step 4: Craft Your Custom AI Prompt
The power of Stackby's AI is in the prompt. You tell the AI exactly what information to find and how to present it.
Define Your Prompt: In the AI column configuration, you will see a text box to write your prompt. This is your instruction for the AI.
Use Column Variables: Crucially, you can use existing column names as variables within your prompt. For example, if your "Companies" table has a Website column, you can reference it with [Website].
Here are example prompts for data enrichment:
For Companies Table:
Prompt for Industry: "Based on the company website [Website], provide a one-word description of its primary industry."
Prompt for Employee Count: "Based on the company website [Website], estimate the number of employees."
For Contacts Table:
Prompt for Job Title: "Find the current job title for [Full Name] at the company with the domain [Company Website]."
Prompt for Professional Summary: "Write a one-paragraph professional summary of [Full Name] at the company [Company Name]. Include their current role and key responsibilities."
Table | Prompt | Output |
Companies | “Based on the company website [Website], provide a one-word description of its primary industry.” | Industry |
Companies | “Based on the company website [Website], estimate the number of employees.” | Employee Count |
Contacts | “Find the current job title for [Full Name] at the company with the domain [Company Website].” | Job Title |
Contacts | “Write a one-paragraph professional summary of [Full Name] at [Company Name], including their role and key responsibilities.” | Professional Summary |
Step 5: Run the Enrichment and Automate
Once your columns are configured, the enrichment process is triggered automatically.
Automatic Enrichment: When you enter new data into the "trigger" columns (e.g., a Website URL or Full Name), the AI Field Agent will automatically query the AI model and populate the enrichment columns.
Set Up Automations (Optional): To further streamline your workflow, you can create an automation. For example:
Trigger: "When a new record is added to the Contacts table..."
Action: "...run the AI-Generated Professional Summary field agent."]
This ensures that every new lead you add is instantly enriched with valuable data, without any manual intervention.