The button field is an interactive column type that lets you trigger certain actions directly.
In this article, you will learn
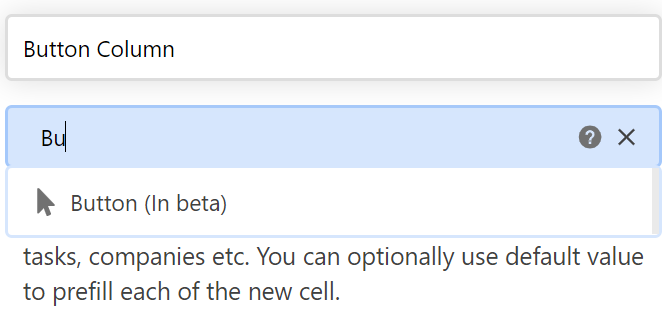
Select button label you want and type URL formula, or just URL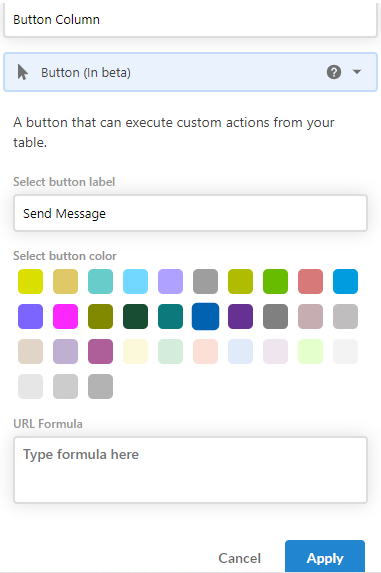
Current Button field actions
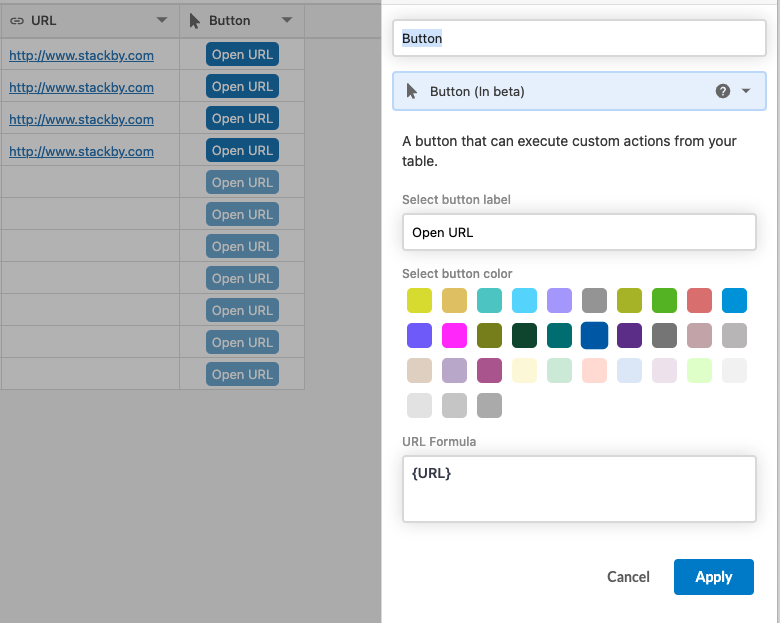
2. Open URL
The Open URL will open a link where the URL can be based on values from your record. Clicking will send you to the URL in the new window.
More, you can enter a URL formula. This uses the same formula syntax as the existing formula column and supports using cell values from other columns.
Few example button actions:
a. Post a Tweet
Need 1 column: Tweet Text
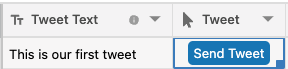
CONCAT("https://twitter.com/intent/tweet?text=",ENCODE_URL_COMPONENT({Tweet Text}))
b. Send an email through Gmail
Need 3 columns: Email, Subject, Body
CONCAT(" https://mail.google.com/mail/u/0/?view=cm&to=",
ENCODE_URL_COMPONENT({Email}),
"&su=",ENCODE_URL_COMPONENT({Subject}),
"&body=",ENCODE_URL_COMPONENT({Body})")
c. Create a Google Calendar Invite for a specific date and time
Need 3 columns: Name (for Event Name), Start Date/Time, End Date/Time

CONCAT("https://calendar.google.com/calendar/render?action=TEMPLATE&text=",ENCODE_URL_COMPONENT({Name}),"&dates=",DATETIME_FORMAT({Start Date/Time},"YYYYMMDDTHHmmss"),"Z%2F",DATETIME_FORMAT({End Date/Time},"YYYYMMDDTHHmmss"),"Z")
d. Create a Google Calendar Invite for Date Only
Need 3 columns: Name (for Event Name), Start Date, End Date
CONCAT("https://calendar.google.com/calendar/render?action=TEMPLATE&text=",ENCODE_URL_COMPONENT({Name}),"&dates=",DATETIME_FORMAT({Start Date/Time},"YYYYMMDDTHHmmss"),"Z%2F",DATETIME_FORMAT({End Date/Time},"YYYYMMDDTHHmmss"),"Z")
e. Open a Stackby Form with pre-fill row content
Need 2 columns: First Name, Last Name (you can add as many pre-fill parameters the same way)
CONCAT("https://stackby.com/form/frshr16327442818961e023e?prefill_","(First Name)","=",ENCODE_URL_COMPONENT({First Name}),"&prefill_(Last Name)=",ENCODE_URL_COMPONENT({Last Name}))
3. Page Designer
The Button Column in Stackby can be integrated into a custom layout using the Page Designer app to create interactive pages or documents, such as reports, catalogs, or client profiles, where each row in a table is presented in a visually appealing, printable format. 
Steps to Create a Button Column with Page Designer Action:
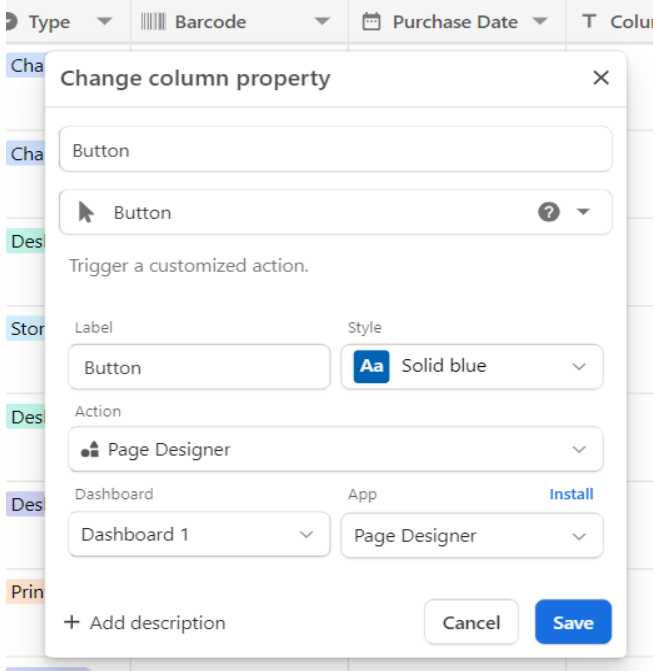
Add a Button Column: In the column properties you’ll see the following options:
Label: Enter a label for your button
Style: Choose the appearance (color and style) of the button.
Set the Action to Page Designer: Choose Page Designer. This allows the button to open a custom layout created with the Page Designer app.
Configure Dashboard and App: You will see two options: Dashboard and App.
Dashboard: Select the specific dashboard where your Page Designer app is installed.
App: Choose the Page Designer app from the available apps in your dashboard.
If you haven’t installed the Page Designer app yet, you can click the Install link next to the App field and follow the steps to install the app.
Save the Configuration:
Once you’ve configured all the options, click Save to apply the Button Column.