

Twilio is a cloud communications platform for building SMS, Voice & Messaging applications such as WhatsApp on an API built for global scale. With Stackby, you no longer need to build these applications for your use. All you need is the API key and you can easily connect Twilio on your Stackby Account and make it work like any other app using Twilio. Let's take a look at:
How to integrate Twilio
Available API Functions
Quota Limit
How to integrate Twilio to your workspace
You actually need two things to integrate Twilio to Stackby. One is the Account SID and second the Auth (authority) Token.
Here are the first steps:
Step 1: Sign Up for a Twilio Account to get your API key. If you don’t have one, create one here.
Step 2: Go to your Console Menu on the top left side of the platform
Step 3: Select your Account SID Key and Auth Token and copy it. Please ensure to keep the key safe.
Step 4: Purchase a phone number to send SMS or WhatsApp messages.
Step 5: Go to Account in Stackby → Workspace settings → API Configuration in Stackby and add a new integration for Twilio and paste your API key and save.
Enable WhatsApp Messages for Testing (in Sandbox):
To enable WhatsApp messages, go to Programmable SMS from the menu
Voila! You will then be able to receive messages on your phone.
Note that whosoever needs to receive the messages (your team member, a client, etc.) need to send that message from their WhatsApp number.
Enable WhatsApp messages for Production
Once you are done with testing your sandbox, now you can go to 'Senders'
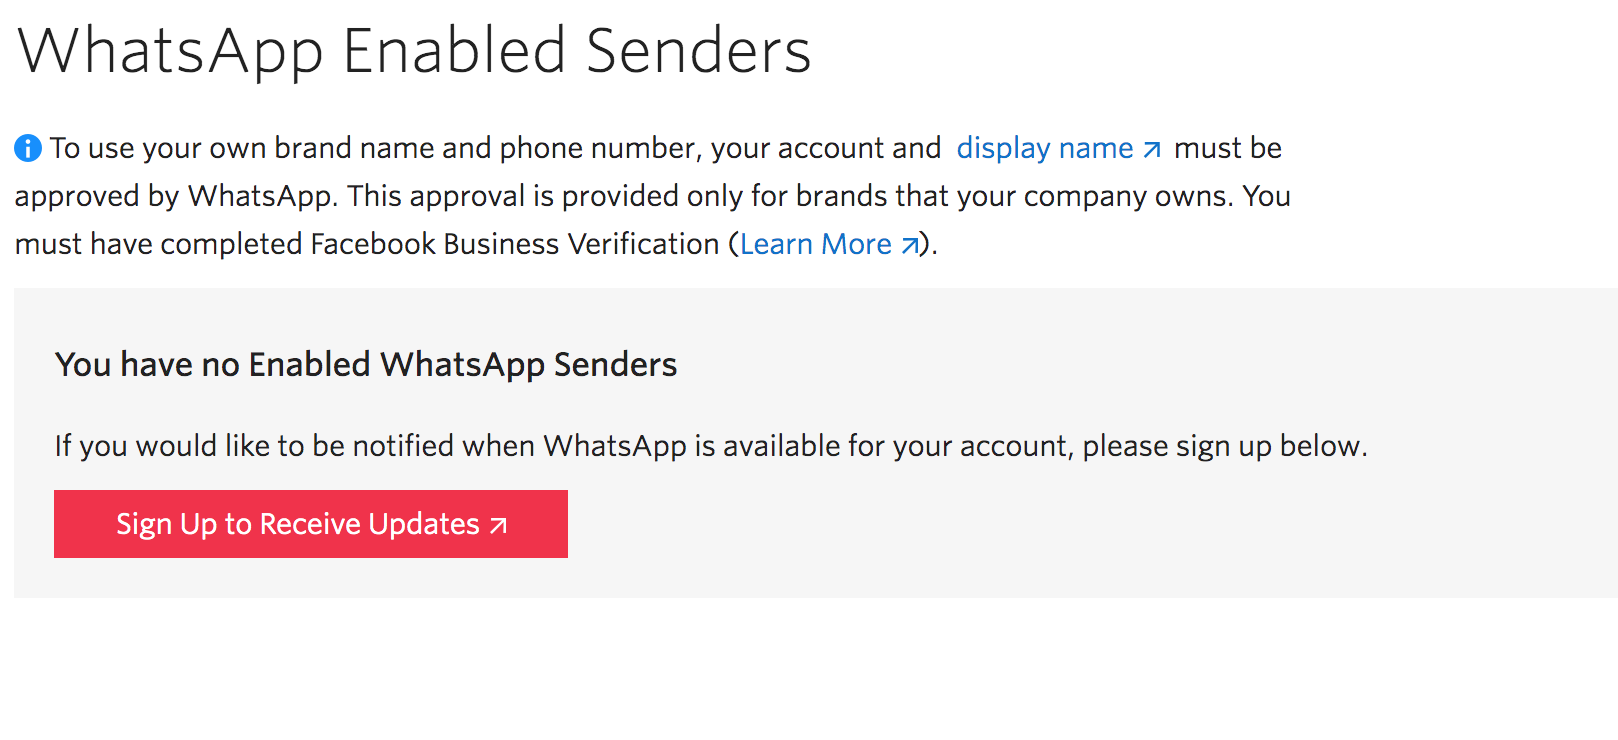
You can then click on 'Sign Up to Receive Updates' and fill the form -
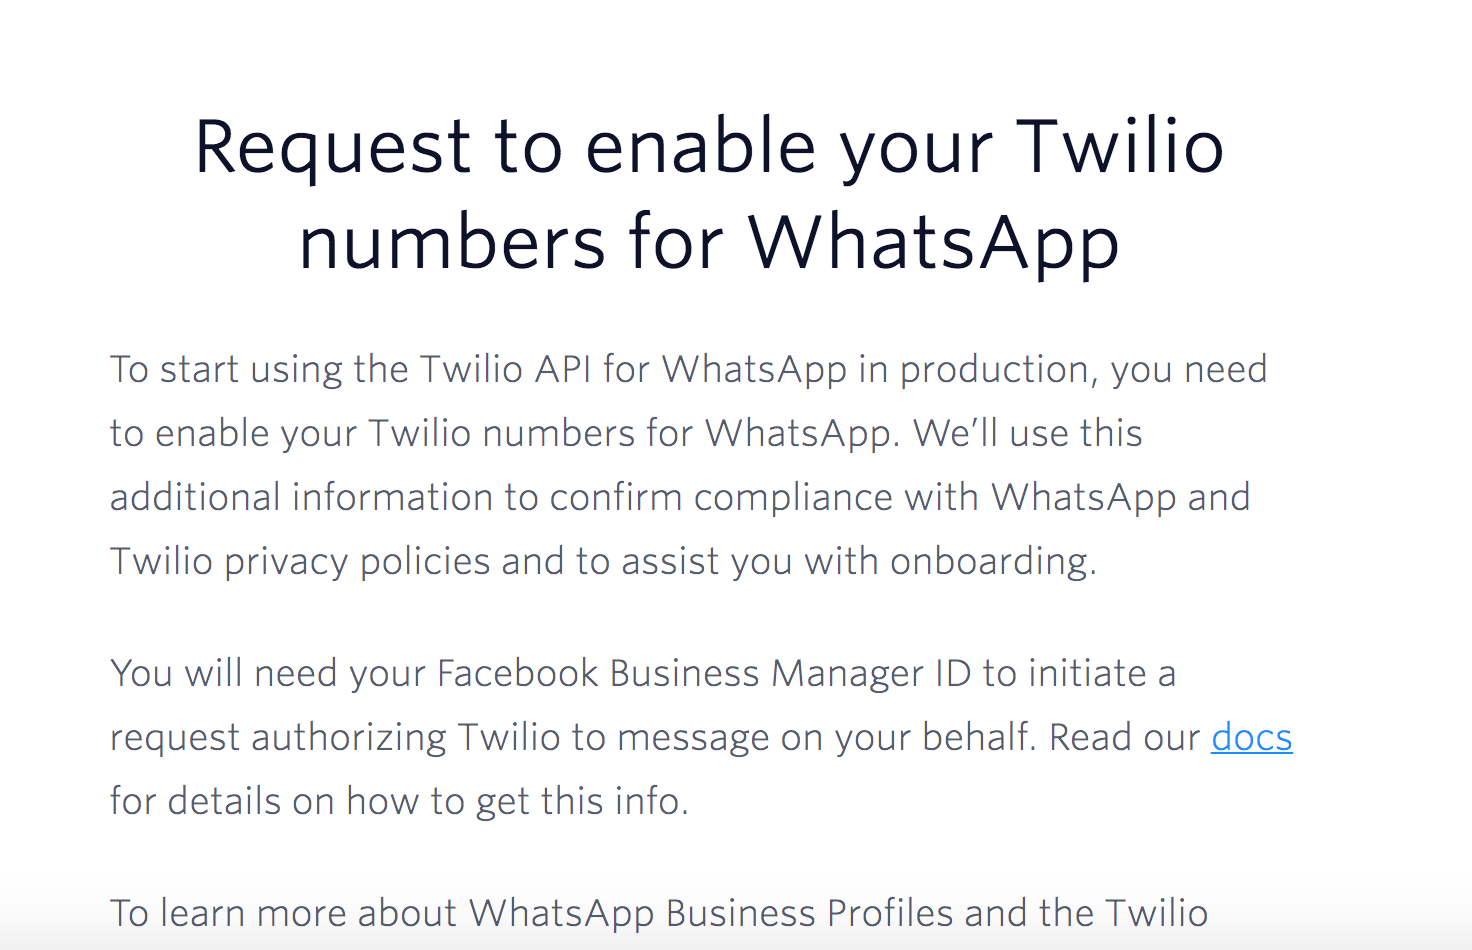
You need to fill a form here and enable your service:
https://www.twilio.com/whatsapp/request-access?twaccsid=AC4ca13fe831a1fc86644be7ab0afed40c
Here you need to get your Twilio Account SID and Facebook Business Manager ID and submit your use-cases.
Once you enable your Twilio numbers for WhatsApp, you can then start using your live number for your brand and start sending messages directly from Stackby by configuring the details below.
Adding push button within a stack
- Go to the stack and the column that you want to configure the buttons
- Double click on the header or go to the column properties
- Select Push Message from the drop down menu of column properties
- The next column will ask you to configure third party APIs and push data - select Twilio
- Next, it will ask you to select an API from your account - select Twilio
- Next, it will ask you to select a Twilio service -- select the appropriate service - WhatsApp
- Next, add in the number from which you want to push the message (you will need a Twilio number for this)
- Next comes the message body that will be sent out -- add this message in the body field. Note: In the body field, you can configure a personalized message by using brackets { } to add like {Column Name} and it basically takes the text from the given column and add to the message.
- Next Select the button label which is nothing but the appropriate call to action.
- Once you are done with this, select the button colour and then the button icon and click on apply
Available Functions
Send WhatsApp Message
Reference Input column: Phone Number
Output: Send WhatsApp Message
Quota Limit
Twilio offers a trial with a credit of $15 and after that, you need to pay. It is a pay as per usage service so you only end up paying for what you use.