MailChimp is a web-based email marketing service that helps you design email newsletters, share them on social networks, integrate with service you already use, and track your results.
You can integrate MailChimp with Stackby to pull information about your lists and audiences as well as specific campaign details onto Stackby. Let's take a look at how you can integrate MailChimp with Stackby. We will also take a look at what kind of information you can pull through to Stackby.
In this article, we will discuss:
Why to Integrate Mailchimp?
How to Integrate Mailchimp?
Get your Mailchimp campaign ID
Available API Functions
Templates
Why to integrate Mailchimp?
Talk about doing away with manual entry of your data. That is the first advantage when you integrate MailChimp with Stackby. Because Stackby is all about working on a single platform, you can manage your audiences as well as campaigns on Stack by bringing in the data automatically. Doesn't that seems easier than manual entry or saving you data across different platforms?
How to integrate MailChimp to Stackby
Step 1: Sign up or Login to your MailChimp Account
Step 2: On the top right, click on Account Extras →API Keys
Step 3: Click on Create a Key button and copy the API Key that is created
That takes care of what you need from MailChimp. Now, go back to your Stackby Account.
Step 4: To integrate your workspace on Stackby, visit Workspace Settings → API Configuration → Create a new integration for MailChimp → Paste your copied API key → Click save.
Step 5: Download Google Chrome extension - MailChimp Get Campaign ID to get the Campaign ID for each of your campaigns.
Get your Mailchimp campaign ID
For getting campaign details you need to get a campaign ID from MailChimp.
There are two ways to get the Campaign ID for MailChimp. Let's take a look at these:
1. If your campaign is in Drafts:
Go the Campaigns Tab in MailChimp -- Drafts
If your campaign is in "Drafts," click on Edit View Email
You can get your Campaign ID from the URL on the browser tab.
2. If you have already sent out your campaign:
Click on View Report- View Email → download a Google Chrome Plugin here to get your Campaign ID
In your Google Chrome toolbar, you can click on the plugin icon (do make sure Enable is checked in) → Confirm)
When you confirm, you can see your Campaign ID below the plugin.
Next Steps...
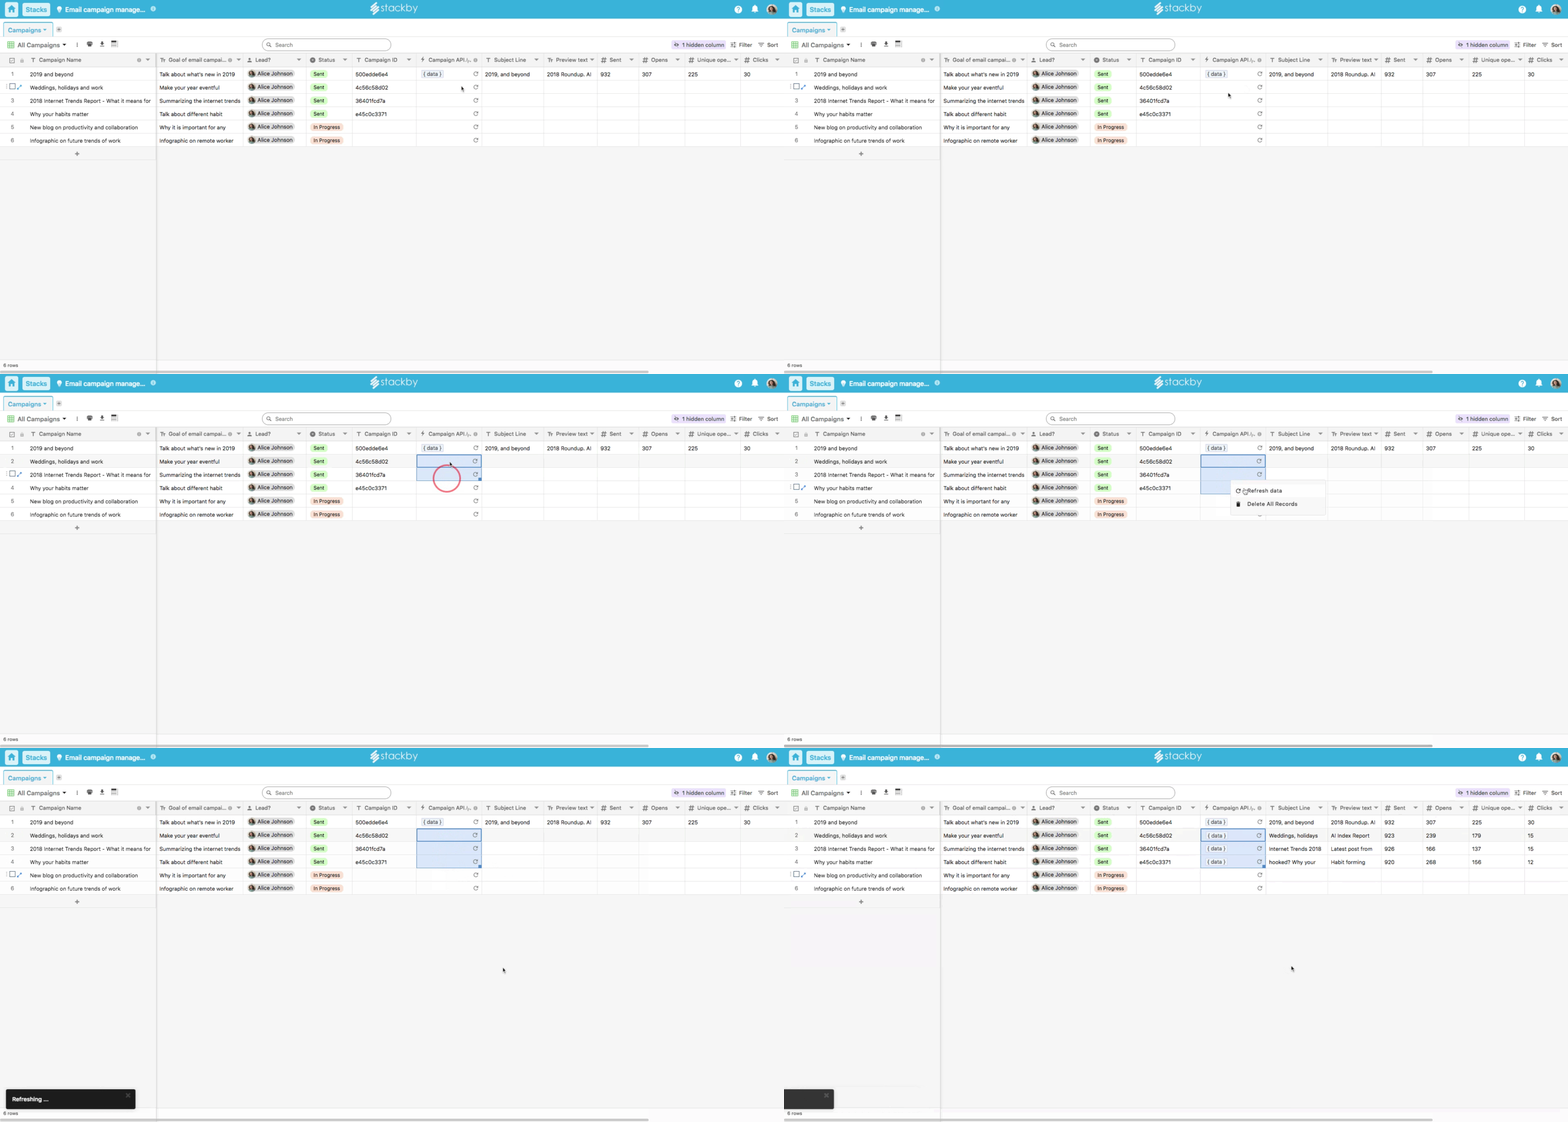
Mailchimp helps you pull in Audience and Campaign details via its API that you can integrate via Stackby.
- Bring the campaign ID from the process described
- For example, add campaign ID to a column, and reference it for Campaign details API
- Get the JSON data and configure different data keys (Emails sent, Subject line, Preview text, Opens, Clicks, Subscriber clicks, etc.) in different columns.
- Bam! Configure it once and see the magic.
Final output:

Available API Functions
You have integrated your Stackby Stack to the MailChimp API. Right now, you can pull in List/Audience details and Campaign details based on specified campaign ID from MailChimp API on to Stackby.
Lists/Audiences
Get audiences based on the specified List ID
Reference Input Column: List ID
Output: Audiences

Campaigns
Get campaigns details based on the specified Campaigns ID
Reference Input Column: Campaigns ID
Output: Campaigns Details
Templates
Email Campaign Tracking Template: Monitor all email campaign metrics like sent, open, clicks, subscriber clicks and more with this template.


