

Rather than interrupting your creative flow to track the clock or relying on your memory after the fact, a time tracker app does all the work for you, automatically. You can track time for existing rows, or create new rows directly from the time tracker app.
In this article, you will learn
How to Track time with Time Tracker App
Track time for an existing record
Track time to create a new record
How to track time with the time Tracker App
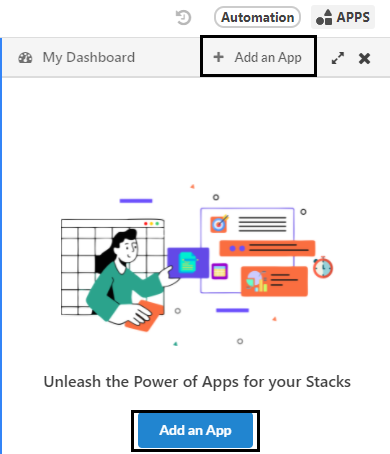
Step1: To add a TimeTracker App to your Stack, Click on Apps.
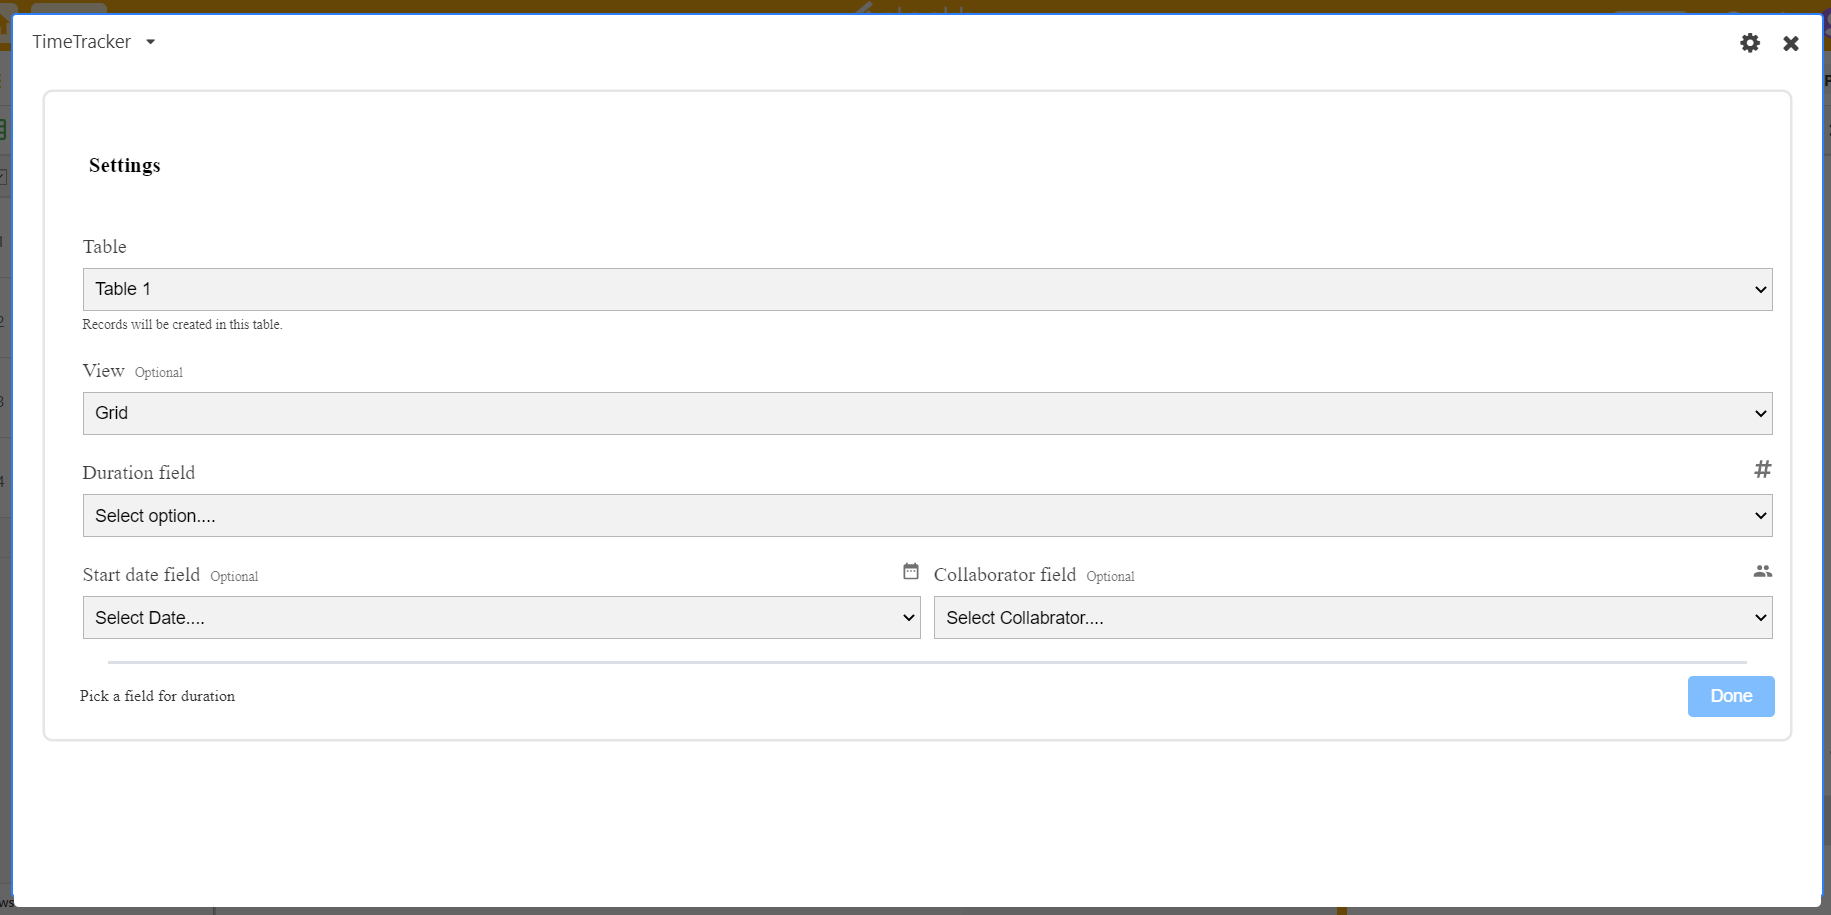
Step 2: Now dialog box is displayed, select Time Tracker App and then click on "Add App" button.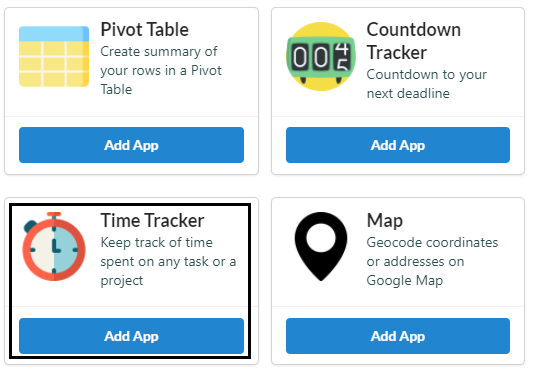 Step 3: Now, Select the table using the Table dropdown menu, select view, select a duration column, select a start date column, and select the Collaborator Column.
 Track Time for existing the rows
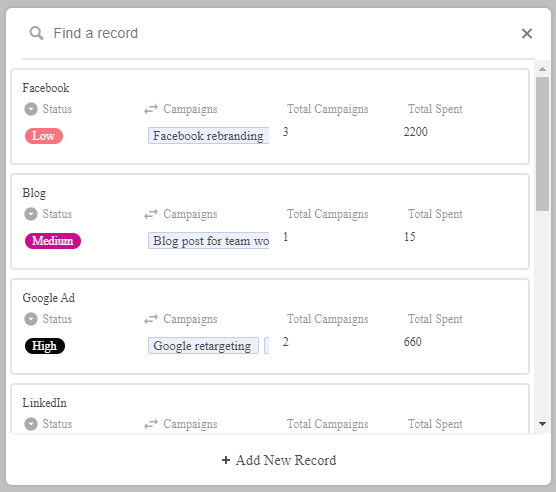
Once you click Start tracking, you'll be given the option to choose existing rows to add time tracking to. Once you choose, if you have a start date column the current date will appear in that column. If you set up a collaborator column, the collaborator column will automatically fill in with the name of whichever collaborator started the time.
- The time tracker will continue running even if you switch to a different stack or leave Stackby. If you select Expand row you can update your tracked row.
- You can also pause your session by clicking on the pause button.
- Click the Stop tracking button when you're ready. This will stop the timer and add that value to the designated duration column.

Track time to create a new row
You can choose to create a brand new record by selecting + Add new record.
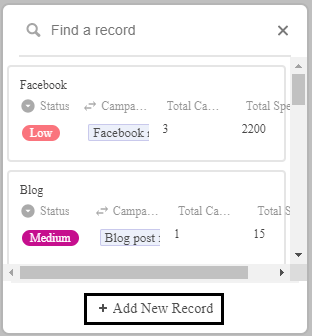
This will create a new record with a value in the designated start time column. If you set up a collaborator column, the collaborator column will automatically fill in with the name of whichever collaborator started the tracker.