The Form layout lets you create structured data-entry pages within an Interface. When a user submits a form, a new record is created in the source Stack automatically — no manual data entry required on the backend.
Interface forms are designed for logged-in users (internal collaborators or Portal members). If you need to share a form with the general public without requiring a Stackby login, use a standalone Form View shared via public link instead.
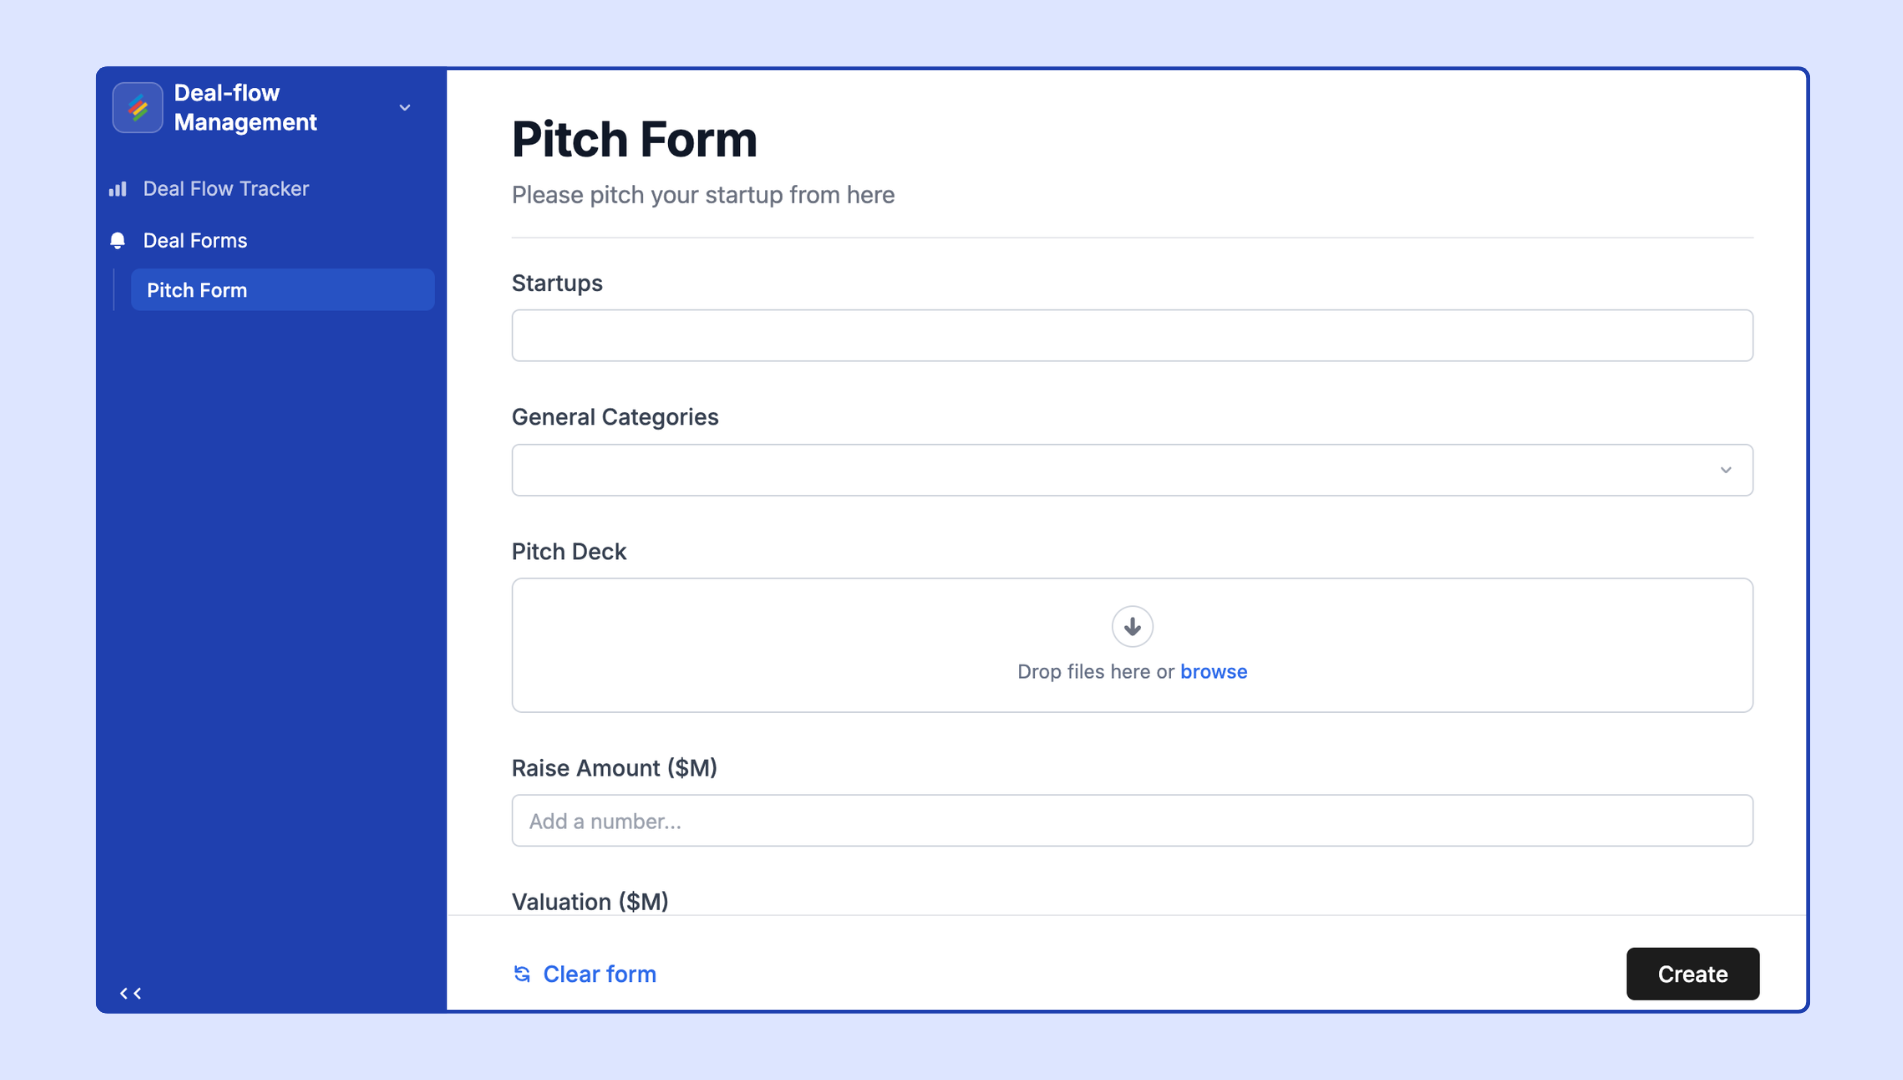
Stackby offers multiple ways to collect data via forms:
In the Interface editor, click + Add Page in the left panel.
In the Layout Picker, scroll to More and select Form. Click Next.
Choose the source Stack where form submissions will create new records. Click Next.
Toggle on the fields you want to include in the form and toggle off fields you want to hide. Click Next.
Give the form a name and an optional description. Click Finish.
The form page will open on the canvas, ready to configure.
From the form canvas, you can:
Rename the form — double-click the title at the top of the canvas.
Add/edit the description — double-click the text area below the title.
Reorder fields — click, hold, and drag fields up or down (or into side-by-side positions with up to 4 fields per row).
Add a field — hover between existing fields and click the + button to add an existing field or create a new one.
Remove a field — click a field to reveal the ··· menu, then click Remove (this does not delete the field from the Stack).
Add groups (sections) — hover over a line break between fields and click + Add group to create a labeled section divider.
Click on the edge of the form canvas (not on a field) to open the page-level properties panel on the right:
Rename the form title as displayed to end users.
Click the cogwheel icon to see all fields: visible, grouped, or hidden. You can also Find a field by name, Edit, Delete, or Hide fields from here.
Button label — Customize the submit button text. Default: "Submit." Examples: "Send Request," "Log Entry," "Add Record."
Message — Set a custom message displayed after a successful submission (e.g., "Thanks! Your request has been received.").
Show a 'Submit another response' button — After submission, let users immediately submit a new response.
Email responses — Choose workspace members who will receive an email notification each time the form is submitted.
Click on any individual field on the canvas to configure its field-level properties:
The label shown to form submitters. By default this matches the field name in the source Stack. Change it here without renaming the underlying field.
Source / Edit field — Opens field editing options. Changing the field type here also changes it in the underlying Stack. Use with caution.
Permissions — Set whether the field is View-only or Editable for form submitters.
Layout — For select fields: Dropdown or List. For linked record fields: Card or Pills.
Size — Adjust the font size of the field in the rendered form.
Helper text — Additional guidance text shown below the field label.
Visibility — Set conditions that determine when this field is shown. When conditions are not met, the field is hidden from the user. Example: show "Deadline field" only when "Priority" = "High."
Selection — (Linked record fields only) Restrict which linked records users can choose from.
Options — (Single/multi-select fields) Choose which select options are available to form submitters.
Collaborators — (User fields) Choose which users are selectable in the field.
Default value — Set a value that pre-populates the field. The user can override it. Useful for hidden status fields.
Required field — Toggle to make the field mandatory before submission.
On Business, Pro, and Enterprise plans, you can brand your Interface forms:
Add a cover image (banner) across the top of the form.
Upload your organization's logo.
Set your brand color for the submit button and accents.
Hover over the form page in the left panel and click the eye icon to show or hide it from Interface end users. Click the ··· icon to access:
Rename — Change the page name.
Delete — Remove the form page (recoverable from the trash bin).
Duplicate — Create a copy of the form (useful for similar forms that vary slightly).
Keep as draft — Mark the page as a draft so other builders know it's a work in progress.
Clear unpublished changes — Discard changes made since the last publish.
Editors and above can submit form responses. Viewers and read-only collaborators cannot.
Computed fields (Formula, Lookup, Rollup) do not appear in forms — they are auto-calculated and cannot be manually entered.
Linked record fields allow selecting existing records only. Users cannot create new linked records from within the form. Instruct users to create the linked record in a separate Interface page first.
Linked record fields cannot be pre-populated from the context of another record (known limitation). Workaround: use a pre-filled URL, or instruct users to select the linked record manually.
Interface form pages require a Stackby account or Portal access to view and submit. To collect responses from people without Stackby accounts, use a standalone Form View with public sharing, or set up a Portal (Business+ plans) with open registration so external users can sign up and access the form.
Text, date, and other standard fields support default values that pre-fill the form. Linked record fields cannot be automatically pre-populated from record context — see the linked record limitation above.
Yes — configure this in the Submission Options → Email responses setting. Choose any workspace member to receive email notifications per submission. This setting takes effect after the Interface is published or re-published.
Click on the field on the canvas and toggle on Required field in the field's Rules properties panel. The submit button will be disabled until all required fields are filled.