Personal Access Tokens (PATs) let you securely authenticate with Stackby's API on behalf of your user account — without exposing your password. They're ideal for building integrations, automating workflows with scripts, or connecting Stackby to third-party tools.
A Personal Access Token is a unique, secret string that acts as your identity when making API calls to Stackby. Think of it as a password substitute — but smarter:
Scoped: you decide exactly which stacks and permission levels each token can access
Revocable: delete a token at any time without changing your account password
Auditable: track which integrations are using which tokens
PATs are tied to your Stackby user account, so any API action performed with a token is attributed to you.
You must have a Stackby account (Free or paid plan)
API access is available on all plans, with higher rate limits on Pro and Enterprise plans
Tokens inherit your workspace permissions — a token cannot access stacks you don't have access to
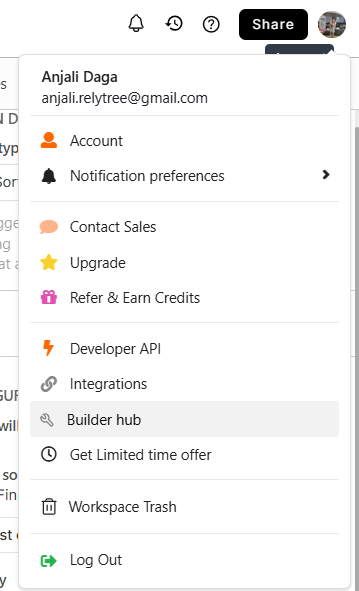
Go to your Stackby account and click on your profile avatar in the top-right corner.
Navigate to the Builder Hub section in the left sidebar.
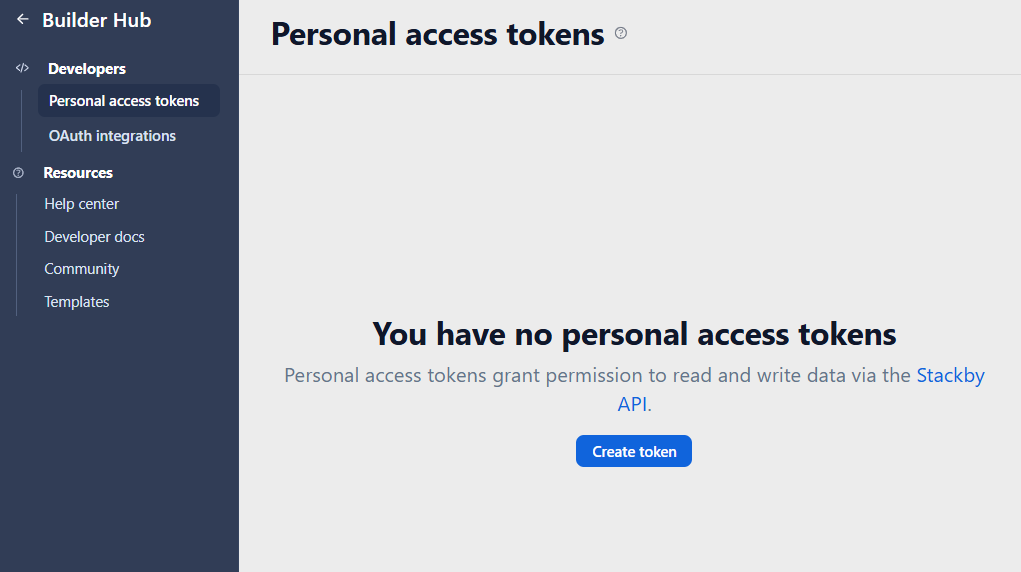
Click + Create New Token.
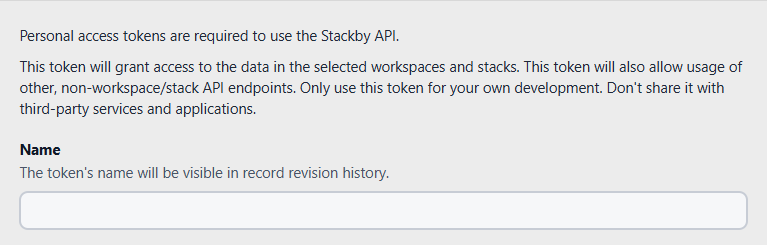
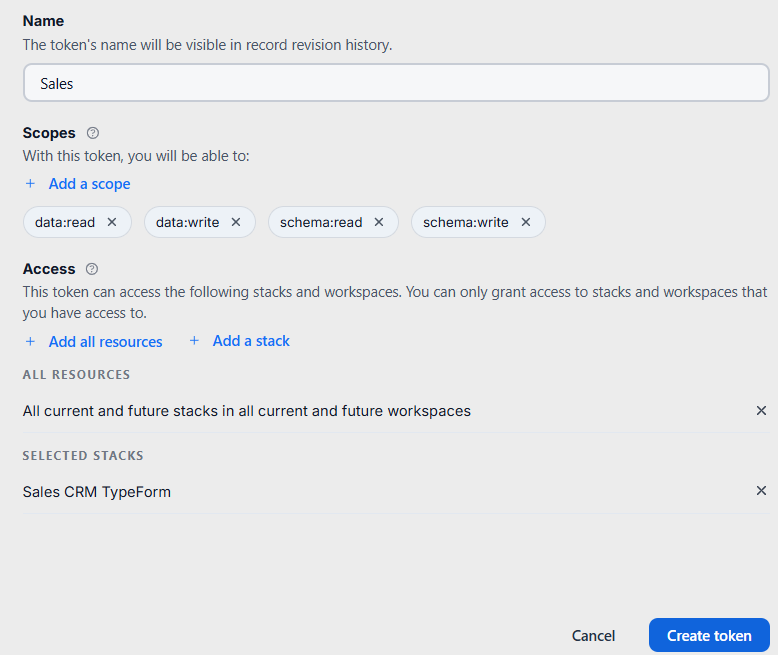
Give your token a clear, descriptive name (e.g., "Zapier Integration" or "Python Script – Leads Sync").
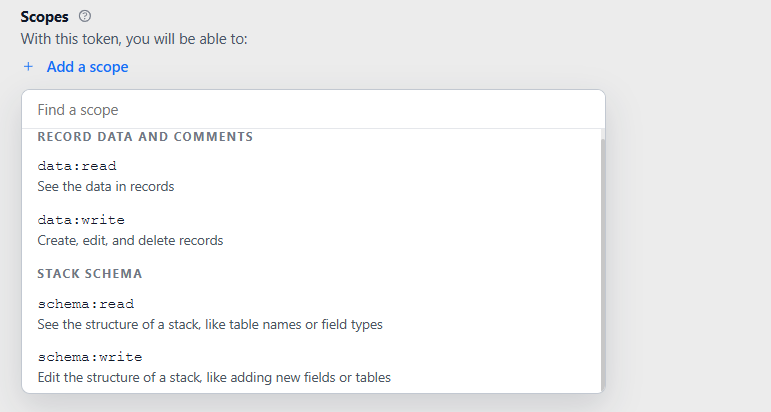
Set the token scope — choose which stacks this token can access and at what permission level (Read, Write, or Admin). Limiting scope is a security best practice.
Click Create Token.
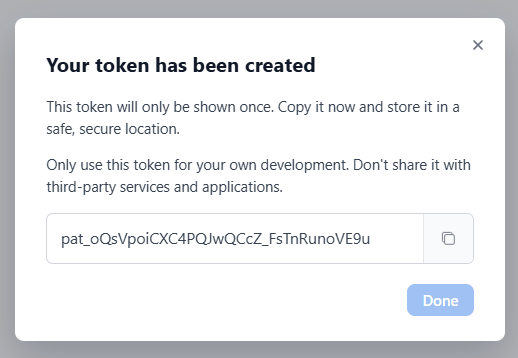
Copy the token immediately. Stackby will only show it once. Store it somewhere safe, like a password manager or environment variable.
Include your Personal Access Token in the Authorization header of every API request:
Example using curl:
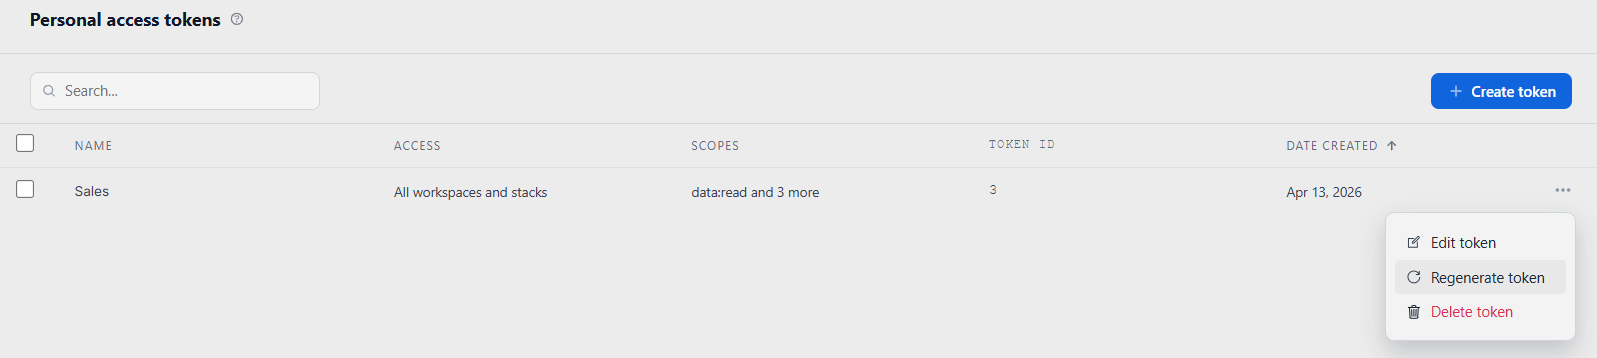
You can manage all your active tokens from Account Settings → Builder Hub → Personal Access Tokens:
View tokens: see token names, creation dates, last-used timestamps, and scopes
Rename a token: click the edit icon next to any token name
Revoke a token: click Delete next to a token to immediately invalidate it — any integration using that token will lose access instantly
It's good practice to rotate tokens periodically and revoke any tokens you no longer use.
Never hardcode tokens in source code or commit them to version control
Use environment variables (e.g., STACKBY_API_TOKEN) to inject tokens into scripts
Create separate tokens for each integration or script — this way you can revoke one without disrupting others
Limit scope to only the stacks and permissions each integration actually needs
Rotate tokens regularly, especially after a team member leaves your organization
401 Unauthorized error: your token may be expired, revoked, or incorrectly formatted. Verify the Authorization: Bearer header syntax.
403 Forbidden error: your token doesn't have permission to access that stack. Check the token's scope in Account Settings.
Token not visible after creation: tokens are shown only once at creation. If you missed it, delete the token and create a new one.