Form View in Stackby allows you to collect structured information from anyone – be it customer inquiries, job applications, lead capture, or surveys. To make your form more functional, user-friendly, and on-brand, Stackby offers powerful customization options via Form Settings.
Accessing Form Settings
Go to your Form View in any Stackby table.
Click on the Settings ⚙ icon on the top-right corner of the form.
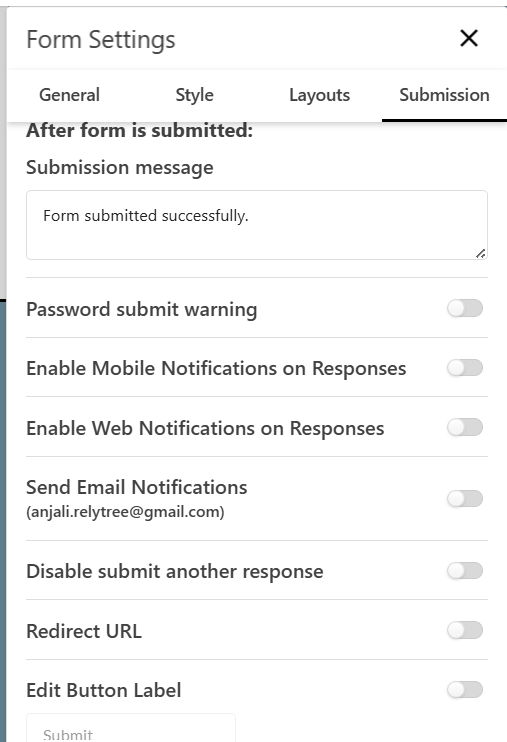
A panel will open with 4 tabs: General, Style, Layouts, Submission.
⚙ General Tab
Here, you control the overall behavior of the form.
Setting
Description
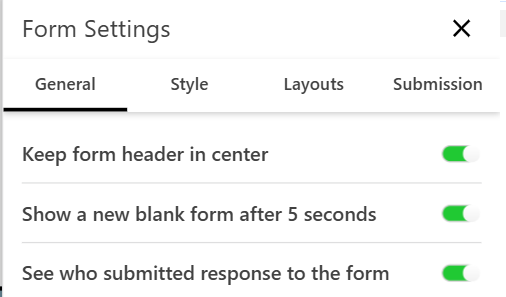
Keep form header in center
Centers the Form’s Title and description at the Top
Show a new blank form after 5 seconds
Automatically reloads a blank form from another response after 5 seconds.
See who submitted response to the form
Logs the email address (for logged-in users) to identify the submitter.
🎨 Style Tab This section helps you customize your form’s look and feel.
Setting
Description
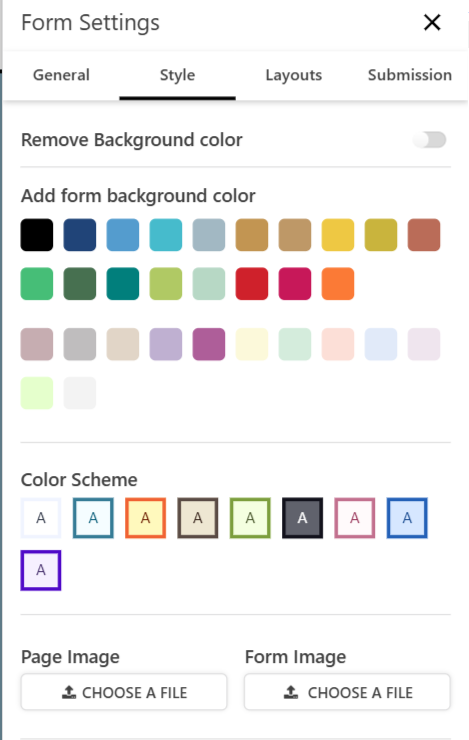
Background Color
Choose from a palette of colors or disable background color.
Color Scheme
Customize form text color and background combinations.
Page Image / Form Image
Upload a header or background image to brand your form.
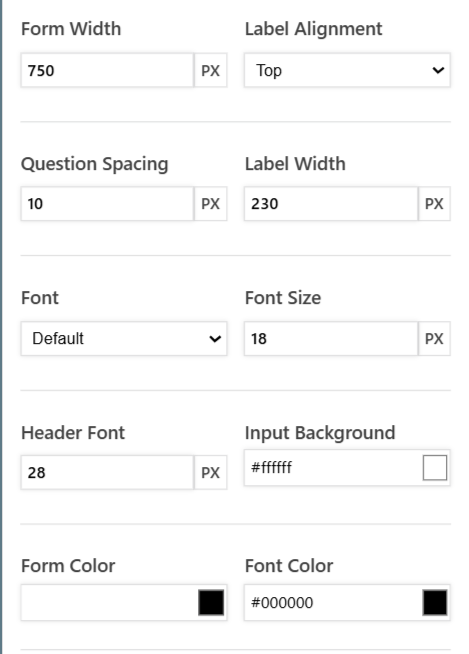
Form Width
Set the total width of the form in pixels (e.g., 750px).
Question Spacing
Label Width
Adjust vertical spacing between questions.
Set how wide labels appear beside fields (useful with left-aligned labels).
Font / Font Size / Header Font
Customize font style and size for body and headers.
Label Alignment
Position labels (Top, Left, or Right of input fields).
Form Color / Font Color
Set the background color and text color of the entire form.
Input Background
Set the background color of input fields.
🧩 Layouts Tab
Choose how your form is structured.
Setting
Description
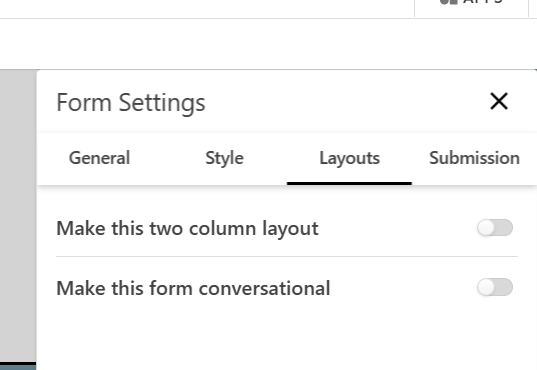
Make this two-column layout
Splits the form into two columns – ideal for wider screens or compact forms.