The "WhatsApp by 11Za" action allows you to send WhatsApp messages directly from Stackby, automating communication and integrating messaging into your workflow.
Prerequisites
Before you begin, ensure the following:
You have a Stackby account and workspace ready.
You have access to the 11Za API for WhatsApp.
Your WhatsApp Business API is set up and verified, as required by 11Za.
Steps:
Step 1: Log in to your Stackby account and open the stack where you want to Send whatapp by 11az action.
Step 2 : Open the table where you want to add the WhatsApp action.
Step 3: Click on the "Automations" button in the top toolbar.
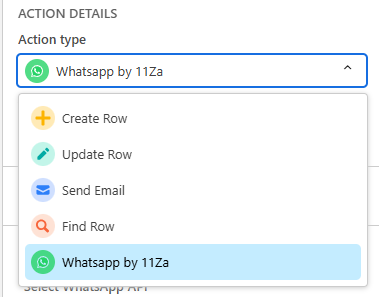
Step 4: Select action type: Choose "Add Automation" and select "WhatsApp by 11Za" as the action type.
Step 5: Log in or authenticate your 11Za account by providing your API key or credentials.
Step 6: If required, configure the API integration with the WhatsApp Business API credentials.
Step 7: This will bring up a box with configuration options “Select whatapp API”, Select a whatapp template, Add mobile number, Select “header variable”, select “body variable” and select “button”.
Step 8: After adding the desired information for the action step make sure to test the action.
Step 9: Once the Update Row Action has been tested successfully, click Save. Your Row Action is now ready to use!