How to Integrate Typeform Webhooks with Stackby
Introduction
Integrating Typeform with Stackby using webhooks allows you to automatically send form responses into a Stackby database in real time. This can help streamline data collection, automate workflows, and keep your records updated without manual input.
Steps:
Step 1: Create a Webhook in Typeform
1. Log into Typeform and navigate to the form you want to integrate.
2. Click on "Workflow" in the top menu.
3. Scroll down and find the "Webhooks" section.
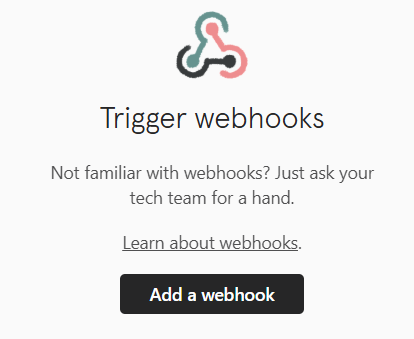
4. Click "Add a Webhook".
5. In the Webhook URL field, paste the webhook URL from Stackby (we will generate this in the next step).
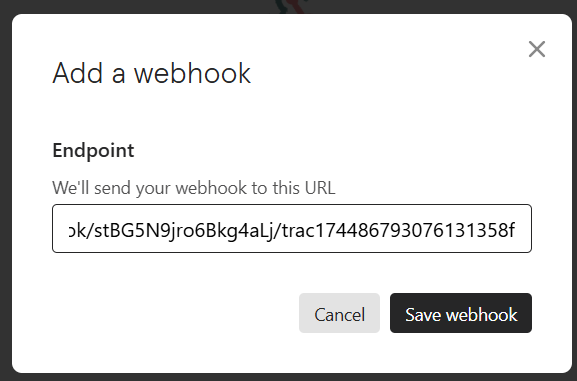
6. Click "Enable" to activate the webhook.
7. Save the webhook and take note of the secret key if required for authentication.
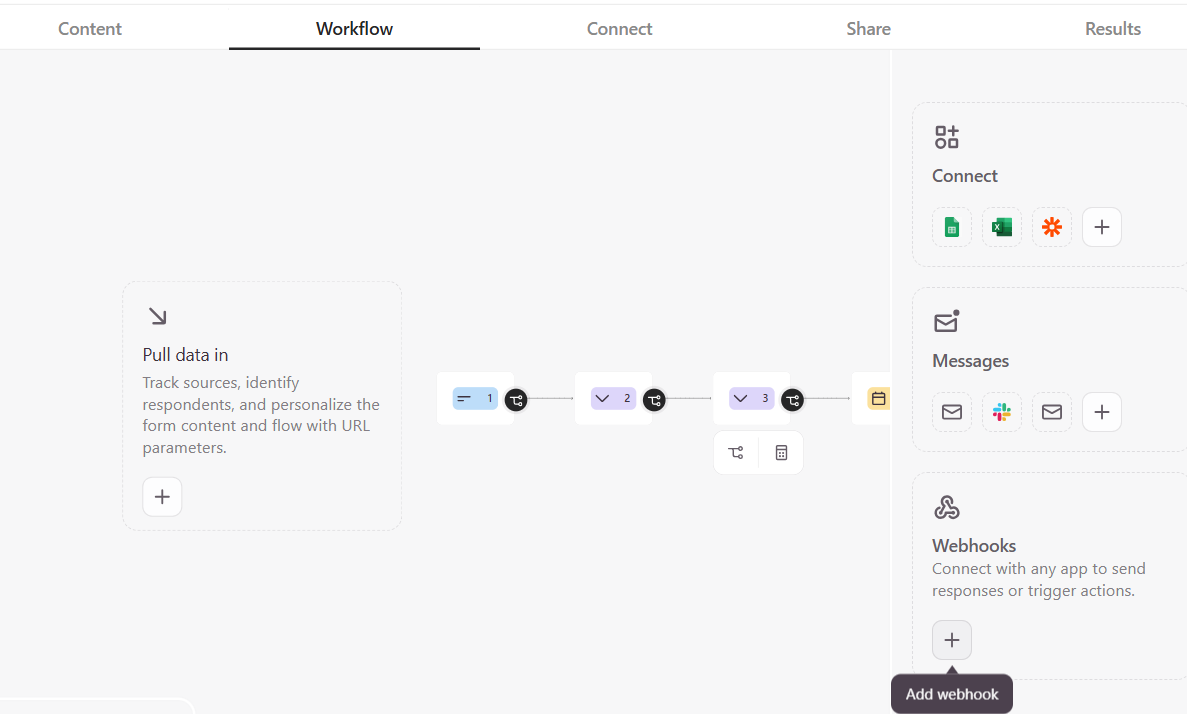
Step 2: Generate a Webhook URL in Stackby
1. Log into Stackby and open the workspace where you want to receive Typeform data.
2. Open the desired Stack (table).
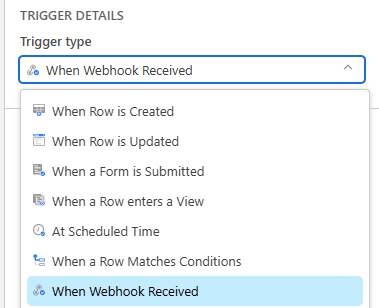
3. Click on the Automation
4. Select "When Webhooks Received" from the list as trigger.
5. Copy the provided Webhook URL.
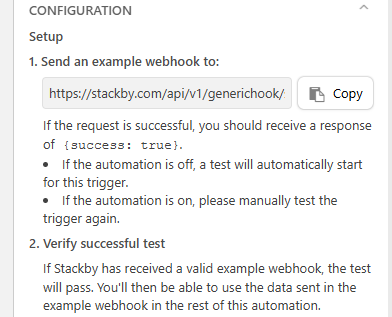
6. This URL will be used in Typeform to send data.
Step 3: Connect Typeform to Stackby
1. Go back to Typeform Webhook Settings.
2. Paste the Stackby Webhook URL into the Typeform webhook URL field.
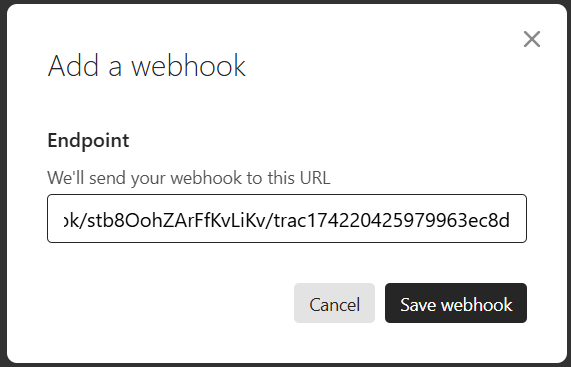
3. Click "Save Webhook".
4. Turn on webhook toggle on.

5. Click on the publish button.
6. In Stackby, go to your webhook logs to verify that the test data is received correctly.
Step 4: Map Typeform Responses to Stackby Columns
1. In Stackby, go to Automations and select Webhooks.
2. Click on the received webhook request to map the incoming Typeform fields.
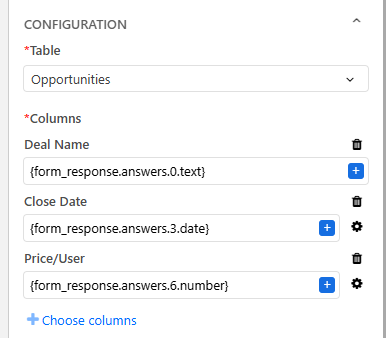
3. Ensure that each Typeform question response is mapped to the correct Stackby columns.
4. Click Save & Activate Automation.
Step 5: Test the Integration
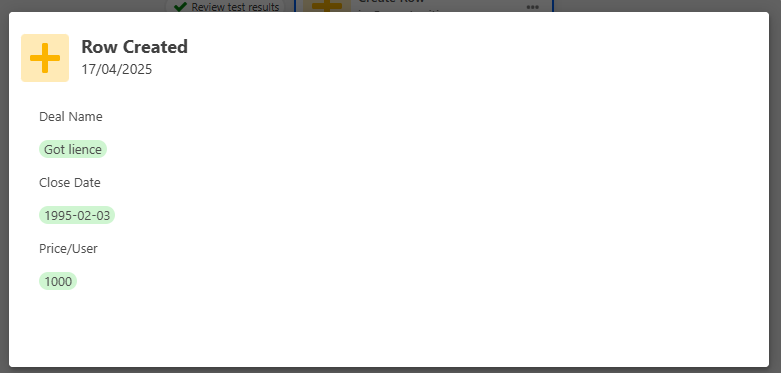
1. Submit a sample response in Typeform.
2. Check your “Stackby table” to ensure that the response appears in the correct columns.

3. If necessary, tweak field mappings and re-test.
Start automating today and streamline your data collection process! 🚀