In Stackby, you can set up Send Email Actions as part of the automation workflow to automatically send emails based on changes in your table, such as when a row matches a specific condition. This can be useful for sending notifications, reminders, or updates without manual effort.
Steps:
Step 1: Log in to your Stackby account and open the stack where you want to Send Email action. Navigate to the table you are working with.
Step 2: Go to Automations, Click + Add trigger and select your preferred trigger. After completing the trigger setup, test your trigger by clicking Choose row.
Step 3: Select 'Send Email Action' In the automations panel, choose the option to Send Email Action.

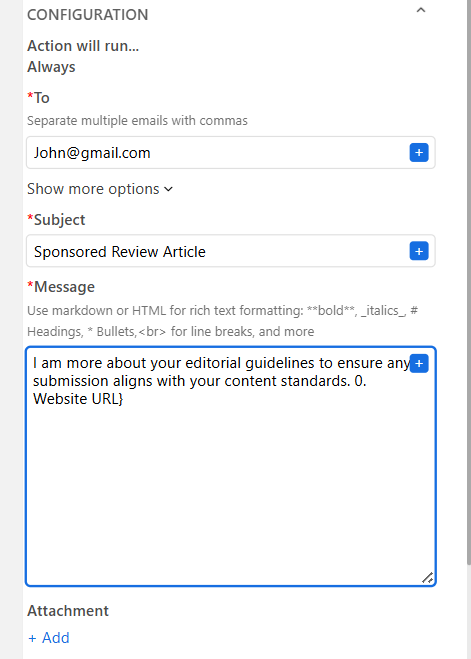
Step 4: This will bring up a box with configuration options to add recipients, a subject line, and the message body.
To: This is where you enter the email addresses of the recipients. You can separate multiple email addresses with commas.
You can also use dynamic data by clicking the blue + button to select an email address from a column in your table (for example, if you have a column that stores client emails).
Subject Line: Similar to the "To" field, you can click the + button to pull in dynamic data from your table to customize the subject line (e.g., including the task name or status).
Message Body: You can use Markdown or HTML for formatting (bold, italics, lists, etc.).
You can also insert dynamic data from your table by clicking the blue + button, allowing the email content to be personalized for each row.
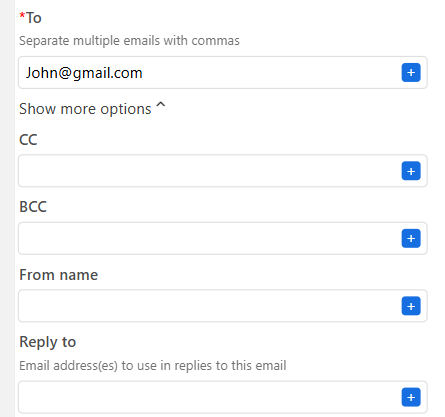
Step 5: By clicking on the Show more options drop-down arrow, you have additional fields to allow for more customization of the email being sent, which includes CC, BCC, From name, and Reply to.
Step 6: After adding the desired information for the action step make sure to test the action.
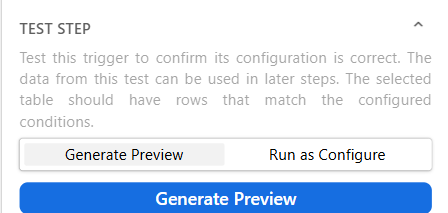
Step 7: Once the Send Email Action has been tested successfully, click Save. Your Row Action is now ready to use!