The "At scheduled time" trigger in Stackby allows you to automate actions at scheduled time Stackby Stack only after the automation has been turned on. This is particularly useful for while working with multiple views in your stack like for example: Grid, Kanban, Calendar, Form, Update form and Gallery views & its related automating tasks such as sending confirmation emails, notifying team members, updating rows, or triggering integrations through Stackby.
Steps for the using the trigger: At Scheduled Time
Step 1: Click on the "Create Automation" button. Or on the left side click on ”At Scheduled Time” box
Step 2: Give your automation a name that describes its function. You can double click on the Automation to rename it.
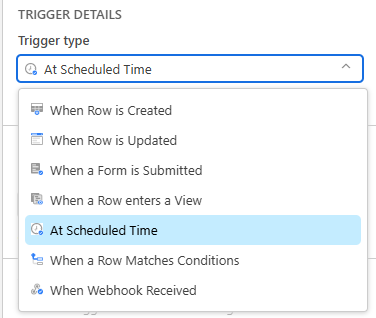
Step 3: Set the trigger: In the "Trigger Type" section, select "At Schedule Time" as the trigger.
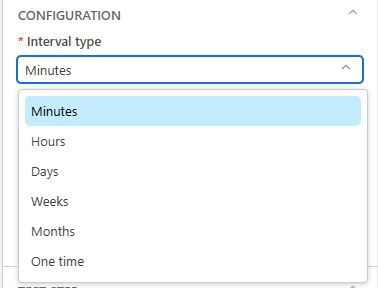
Step 4: In the properties dialog box, go to the configuration section.
Under the “Interval type” section, you can then choose from six options to trigger your automation:
Minutes
Hours
Days
Weeks
Months
One time
Step 5: Next, you’ll configure the “Timing” of the automation. The options shown will depend on the interval you selected.
Step 6: After configuring the timing, move on to the “Starting” section. This section exists for all interval types except the “One time” interval since that interval already contains the information about when it will start. Otherwise, set a date and time (in the future) of when you want the automation runs to begin.
Step 7: Now, click on the Test Step section to test the trigger.
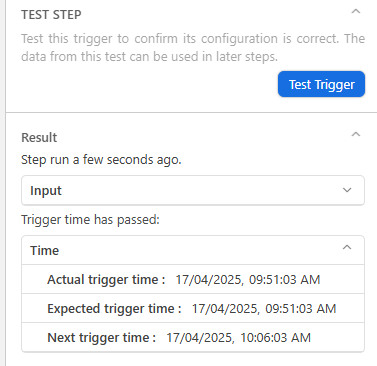
Step 8: Test the Automation: Before finalizing, you can test the automation to ensure it behaves as expected when a row is updated. Then you’ll get the run result if it's running successfully.
This trigger allows you to capture details from the row update, such as the record ID or time of creation, which can be used in subsequent actions.
Step 9: Activate the automation: Once everything is set up and tested, click "Activate" the automation.