The "When Row is Created" trigger activates whenever a new row is added in the stack table.
Steps for the using the trigger: Create a New Automation
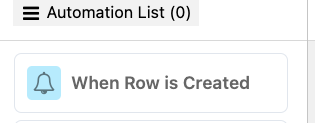
Step 1: Click on the "Create Automation" button. Or on the left side click on” When Row is Created” box
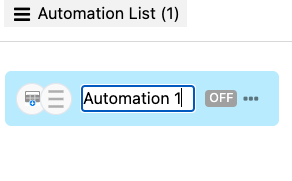
Step 2: Give your automation a name that describes its function (e.g., "New Row Created Trigger"). You can double click on the Automation to rename it.
When you select the trigger, the trigger will be created and shown at the centre of the window. The same selected trigger will appear at the Properties in Set the trigger details section, later you can also change it.
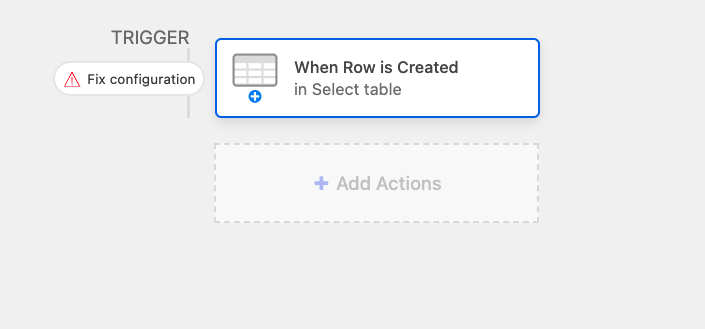
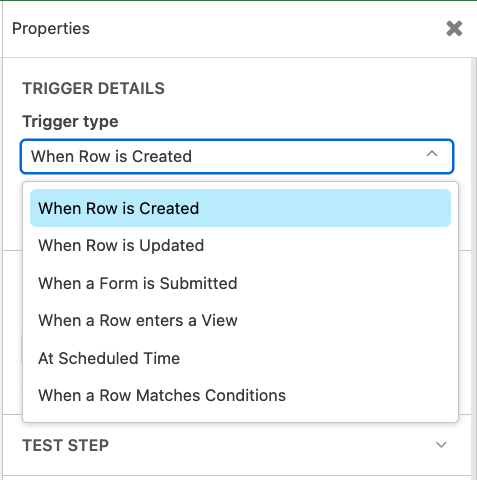
Step 3: Set the trigger: In the "Trigger Type" section > select "When Row is Created" as the trigger.
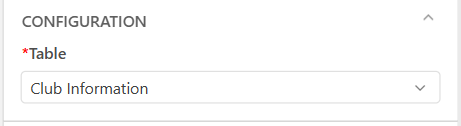
Step 4: In the properties dialog box, go to the configuration section and choose the table where this trigger should apply when the automation runs.
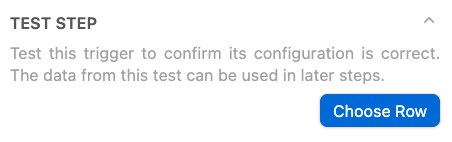
Step 5: Now, click on the Test Step section to test the trigger. Select the “Choose Row” for testing the tigger.
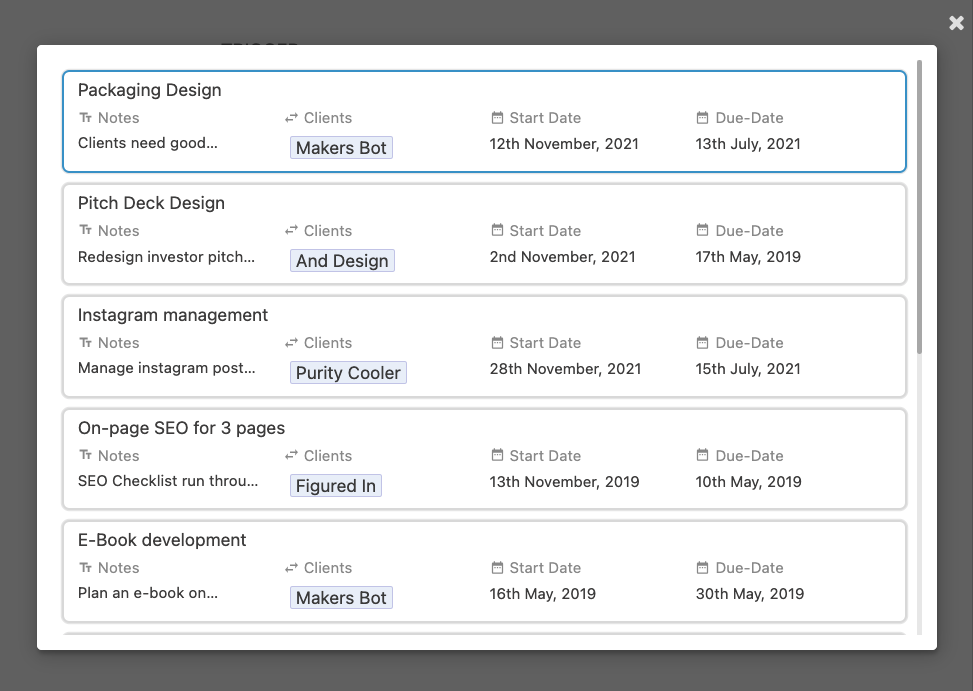
Step 6: Choose the row from the table on which you’re testing the trigger
Step 7: Test the Automation: Before finalizing, you can test the automation to ensure it behaves as expected when a new row is created. Then you’ll get the run result if it's running successfully.
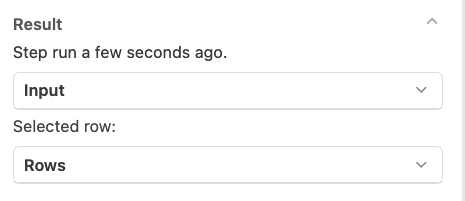
This trigger allows you to capture details from the newly created record, such as the record ID or time of creation, which can be used in subsequent actions.
Configure Action Settings: For each action, configure the settings based on your needs. For example, if sending an email, you’ll need to define the recipient, subject, and body of the email.
Step 8: Activate the automation: Once everything is set up and tested, click "Activate" the automation.