If you have a field containing addresses or latitude-longitude coordinates, the map app allows you to plot your records on one of three different kinds of maps.
Step 1:
To Add a Map View App to your Stack, Click on Apps.
Click the Add an app button that appears. You can add Map View App in 2 ways.
From the Dashboard click on + Add an App
Click on Add an App button
Step 2: Now dialog box is displayed, select Map View App and then click on Add App button.
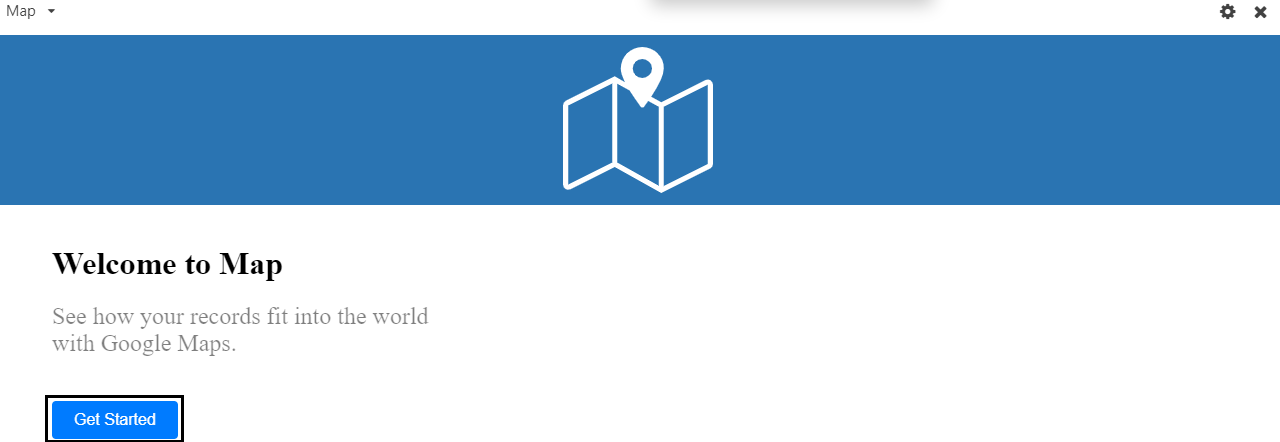
Step 3: You will see the map to get started. Click on the Get Started button.

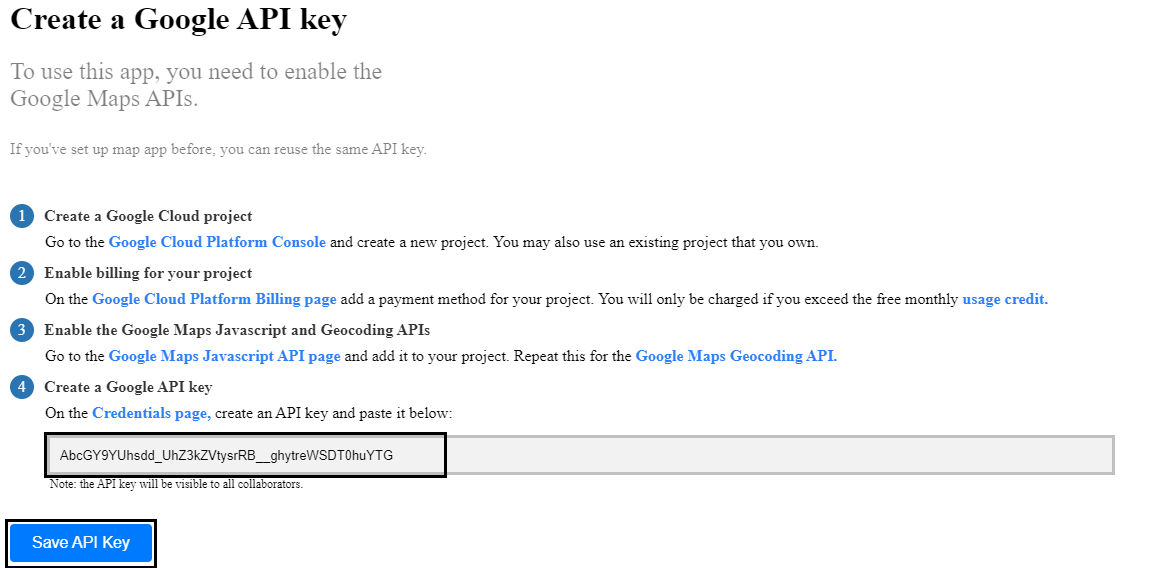
Step 4: Enter your Google Maps API key
To use this app, you need to enable the Google Maps API. If you've set up a map app before, you can reuse the same API key. Otherwise, follow the steps below to obtain one.
Create a Google Cloud project. Go to the Google Cloud Platform Console and create a new project. You may also use an existing project that you own.
Enable billing for your project. On the Google Cloud Platform Billing page, add a payment method for your project. You will only be charged if you exceed the free monthly usage credit.
Enable the Google Maps Javascript and Geocoding APIs. Go to the Google Maps Javascript API page and add it to your project. Repeat this for the Google Maps Geocoding API.
Create a Google API key. On the Credentials page, create and copy an API key.
Once you've followed these steps, paste your API key in the space provided in the setup window.

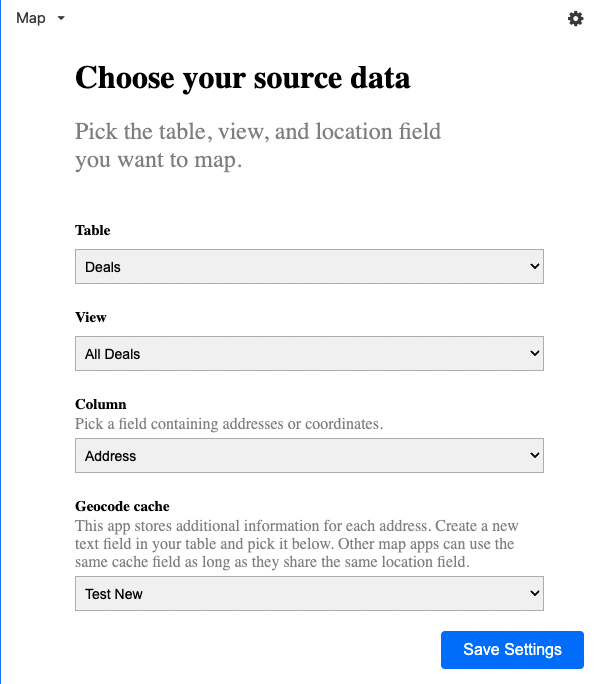
Step 5: Select Table, select view, select Address column, select Geocode coach column from the drop-down list. Once ready click on the Save Setting button.

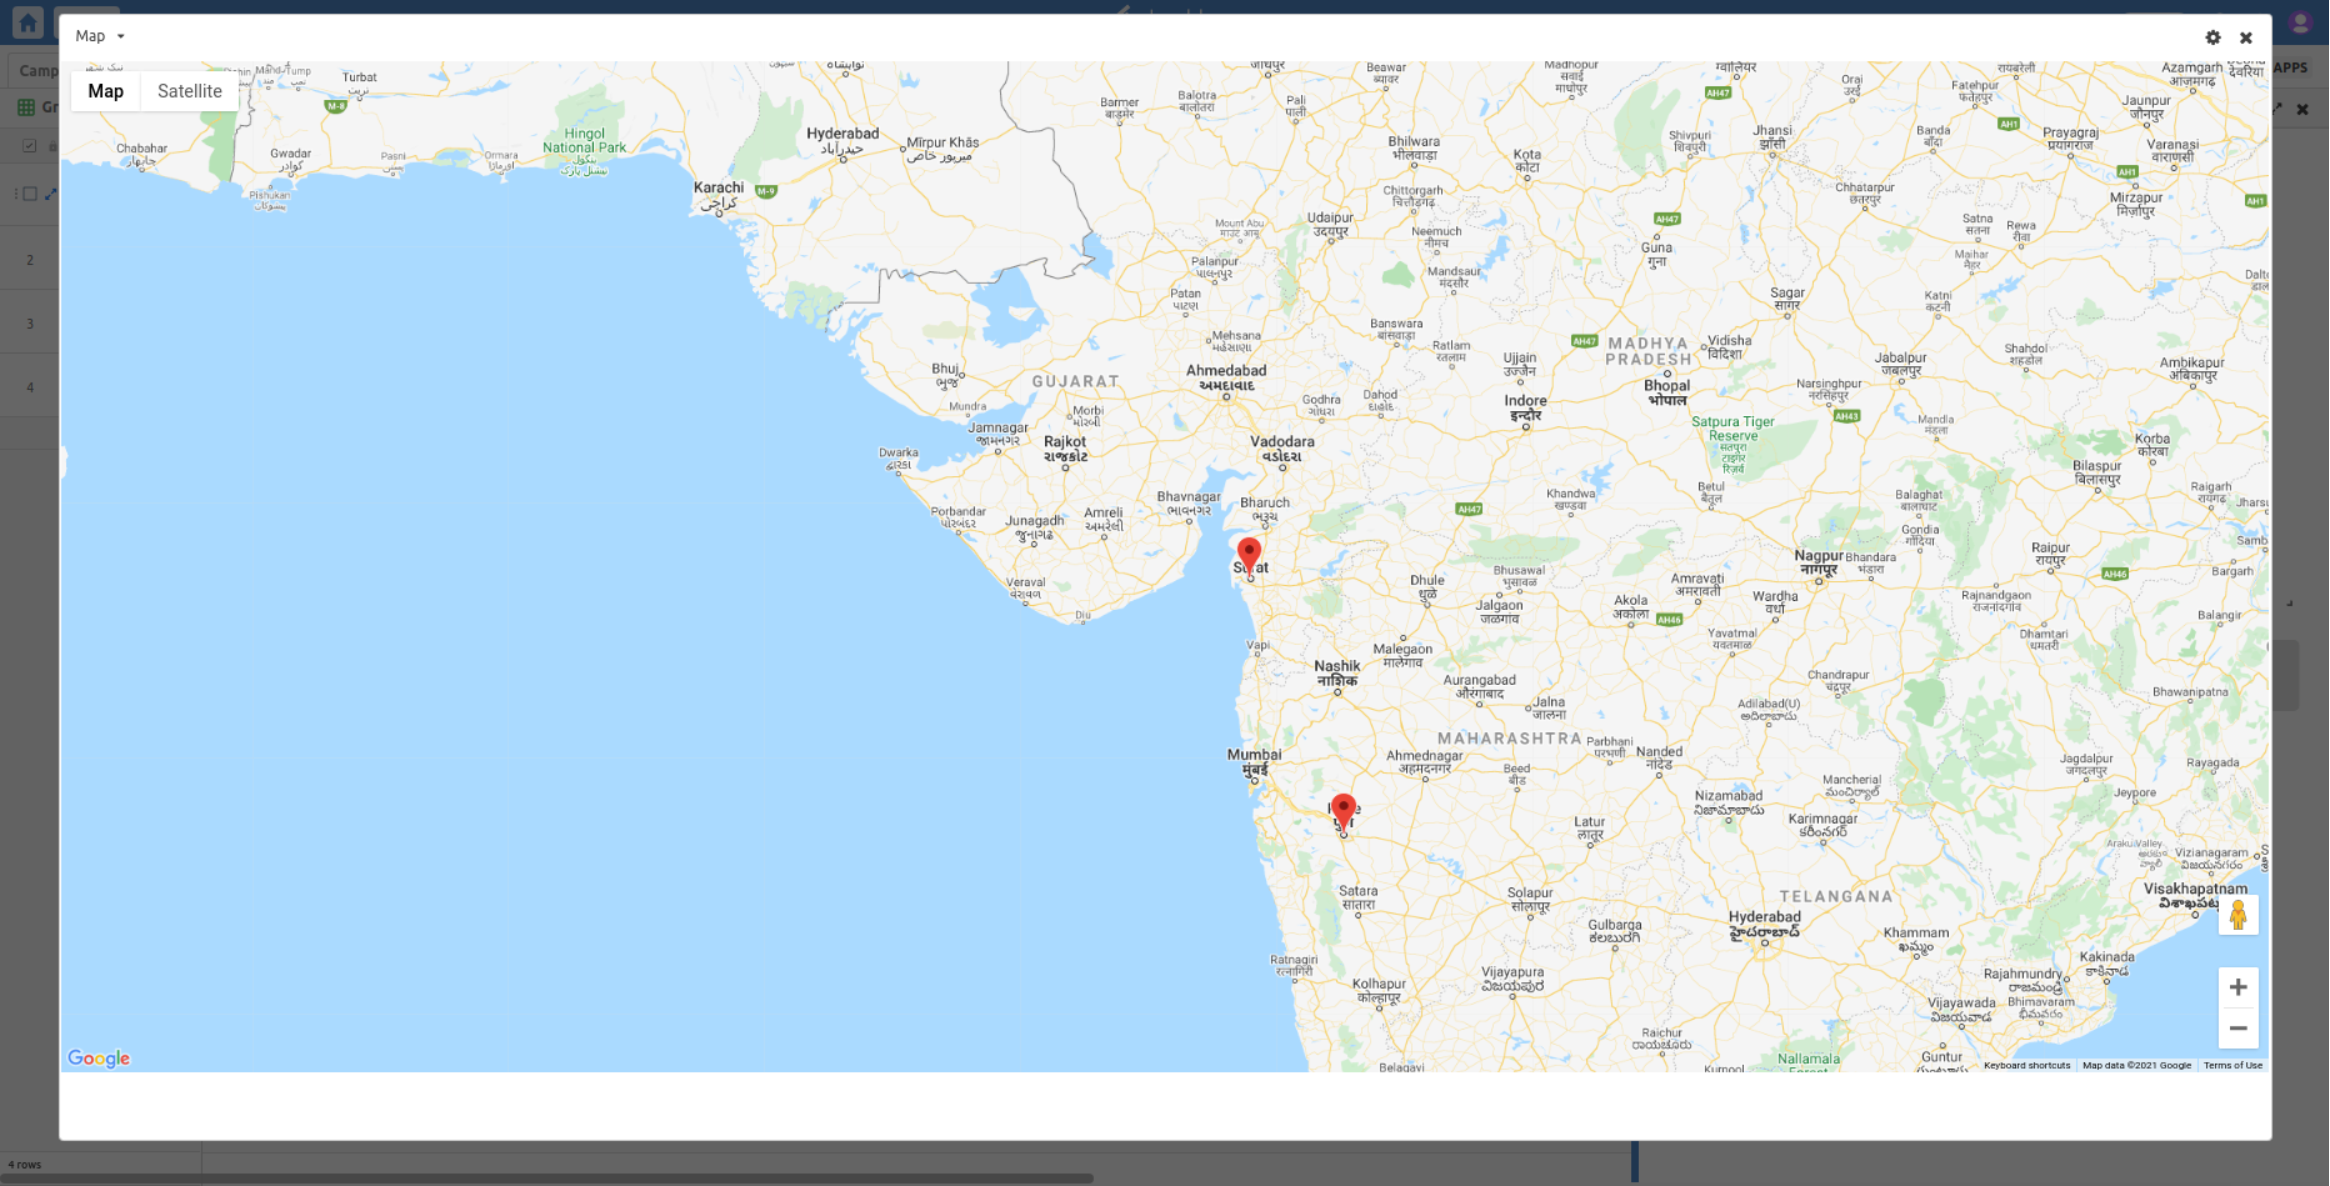
Step 6: A new map is added to your dashboard now based on the coordinates or places you've put in the address column.

Voila! Your records pinned & displayed on the map!