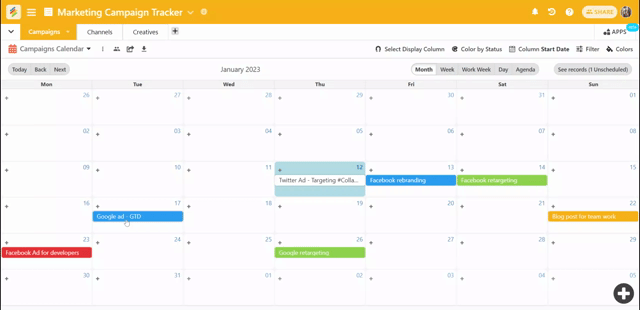
Go to the stack that you want to view and click on the table that you would like to view as a Calendar
Click on the drop-down menu arrow beside the Grid Button (on the left-hand side, just below the table header)
Click on the add (+) icon that lets you create different views
When you click on that it will ask you which view you want
Select Calendar from the list and a pop-up will ask you to select the grouping field and also let you know what groups you can select. Select the appropriate single date column and you can view your data as a Calendar
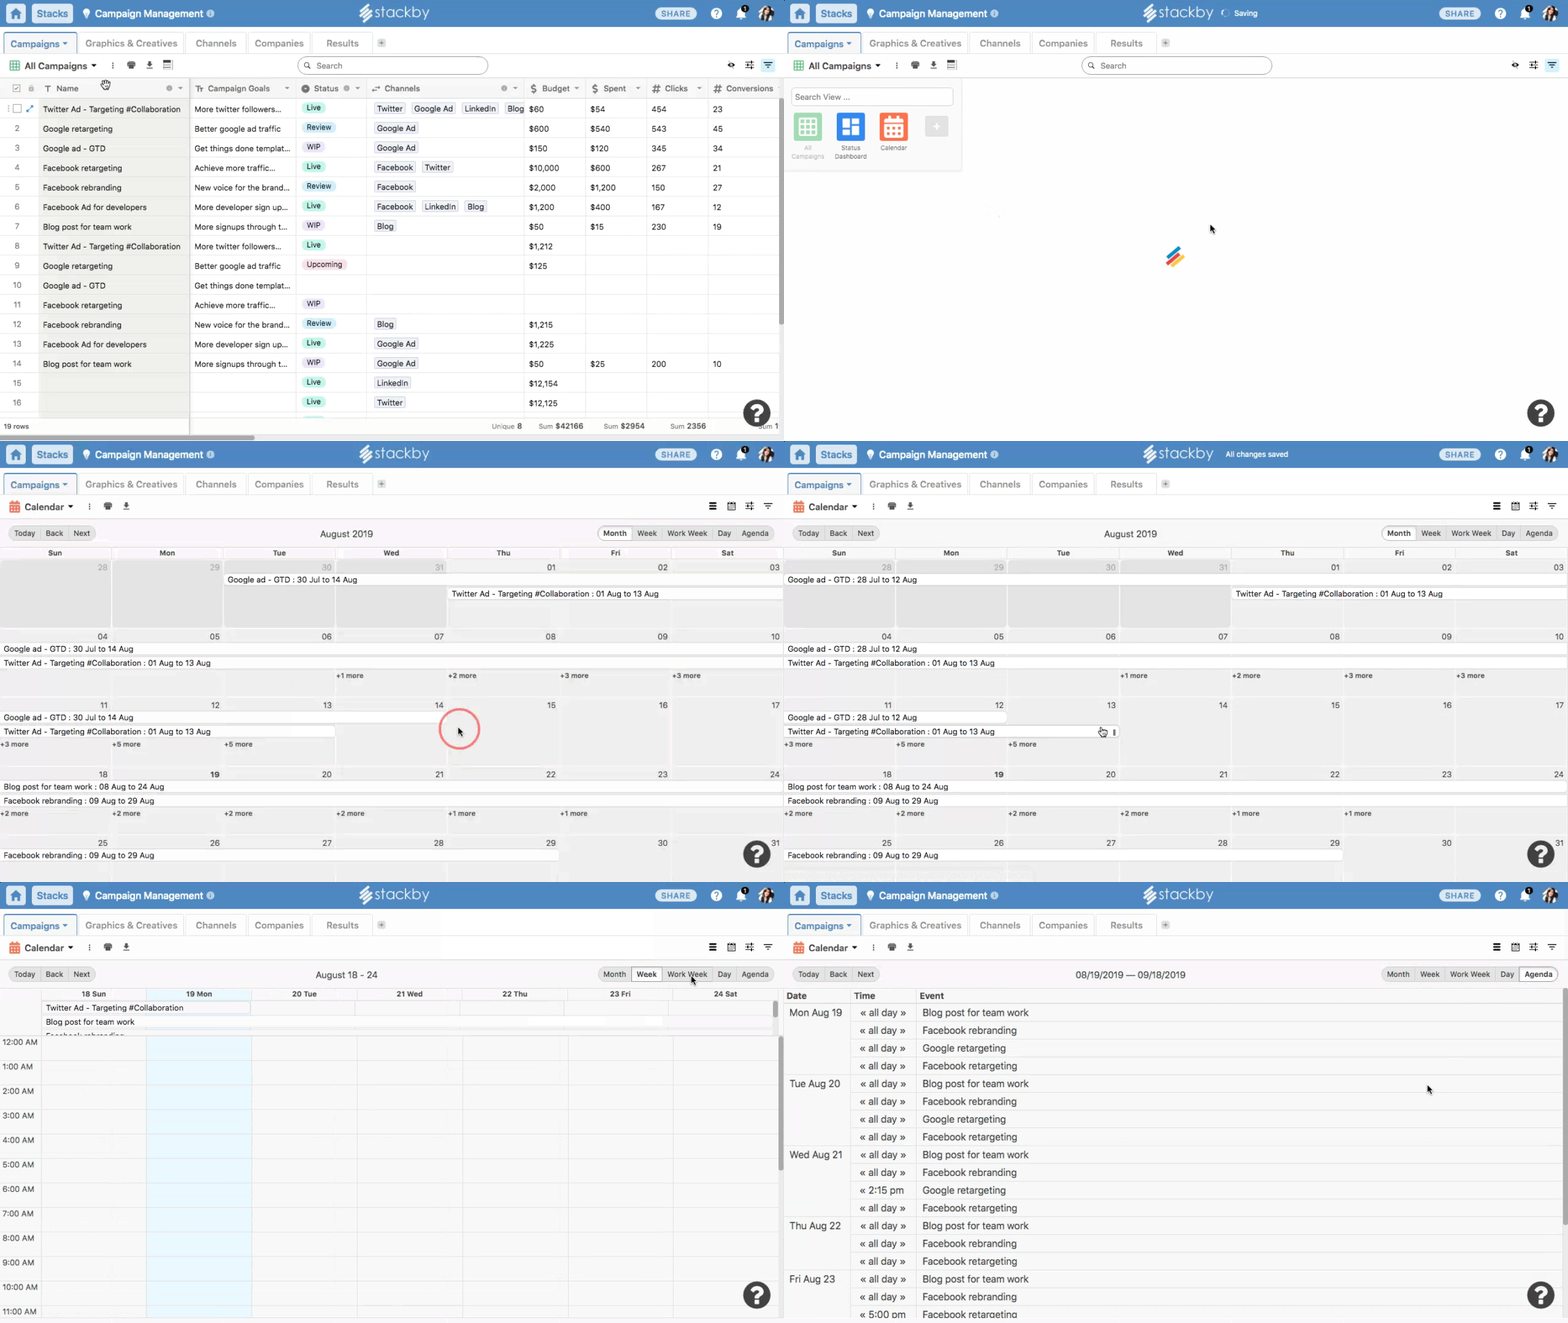
Note:
You can create a separate Calendar list for each table. You can create a Calendar view only with data that has a Date (the column property that has been kept as a Date/Time).
The calendar view also lets you view your data on a daily, weekly or monthly or Work Week or Agenda basis. You can also sort and filter the data you want to see.
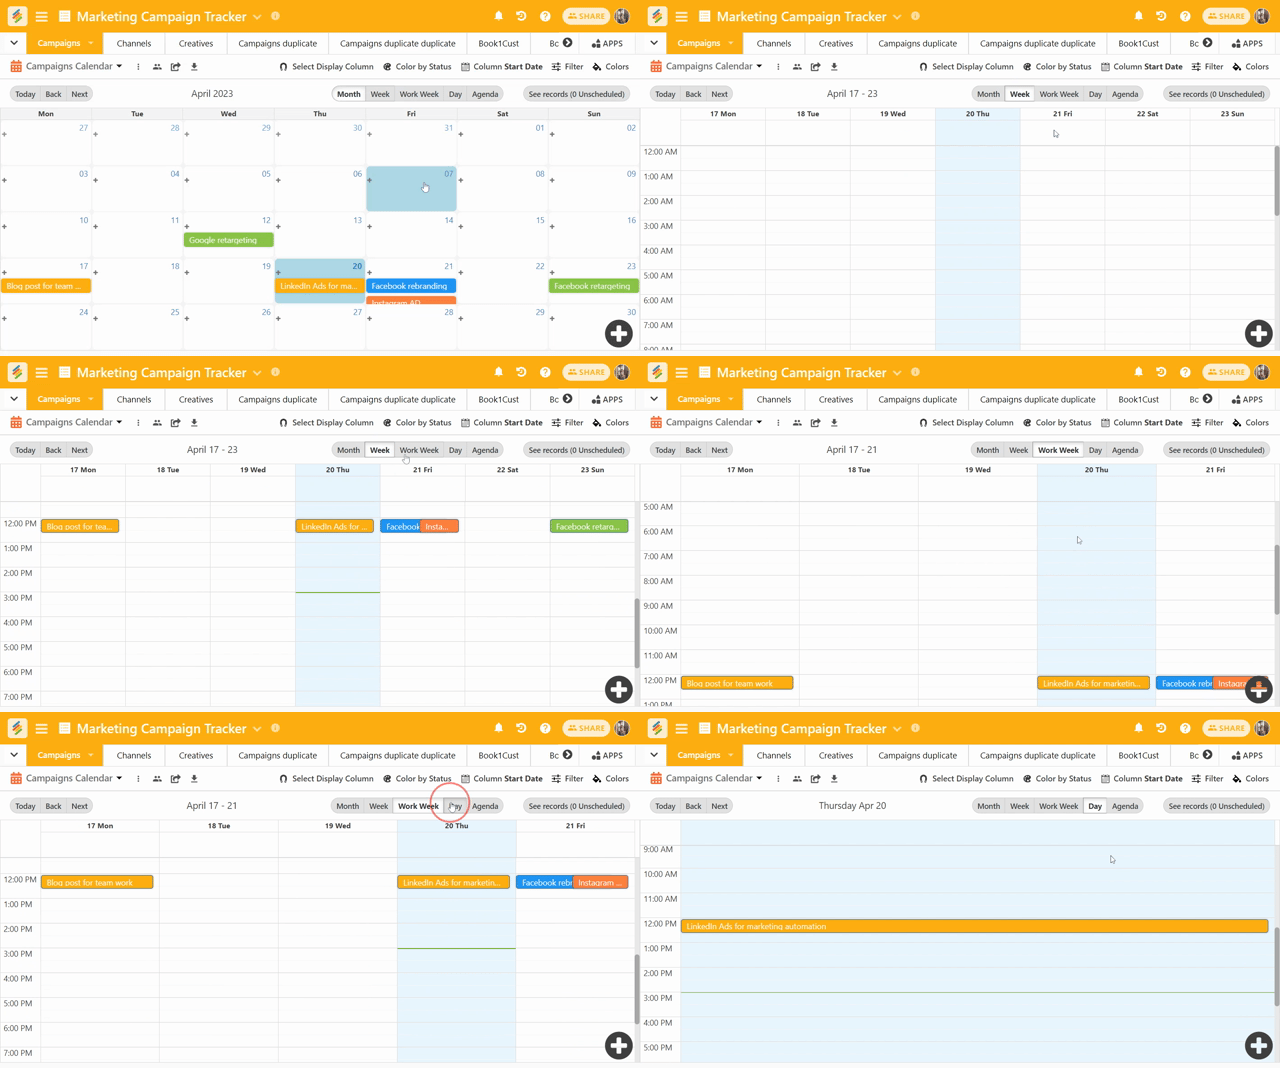
You can adjust your calendar view to one of several modes by clicking the toggle in the upper right corner of your calendar view.
You can choose from:
Month (default)
Week
Work Week
Day
Agenda (Day-wise)
Creating records: To add a new record on a particular date in Month, you can click the + button that appears.
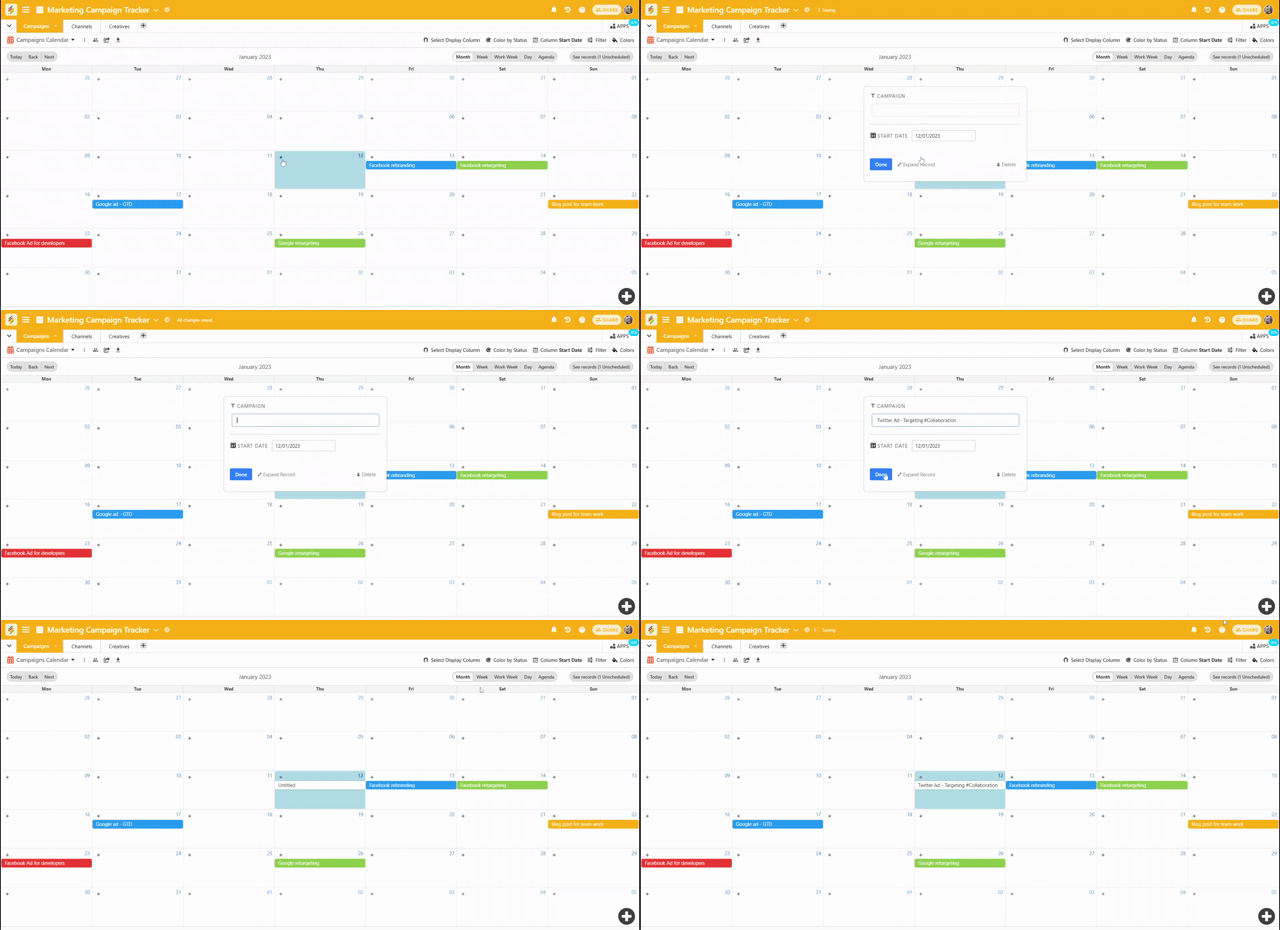
If you add a row with a date range, select start and end date from the date model.
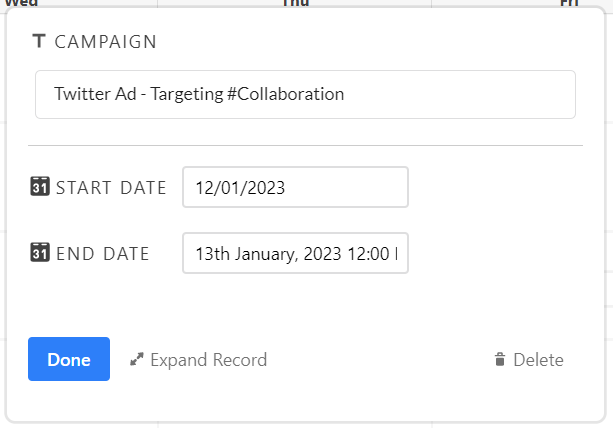
You can edit records directly from the calendar by clicking on a card. Click on any of the records which you want to edit, this will bring up a mini-editor model from which you can change primary column and associate date column.
Clicking on the "Edit details" button will bring up the expanded record view; clicking on the "Delete" button will delete the record.
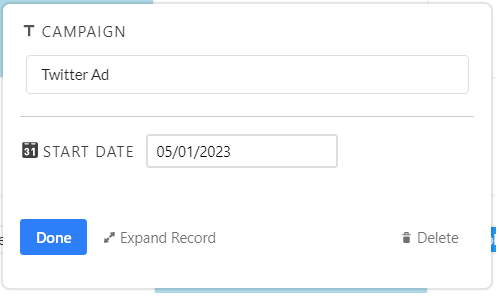
You can expand the record from here as well.
